It can be hard to germinate some seeds when the weather is hot. Sometimes the temperature is just too high for that seed, sometimes the soil dries out too fast. There are some techniques that can help, but the first tool in the kit is information: know the ideal germination conditions for your crop, the actual conditions, and the expected time to emergence under the conditions you’ve got. Here I’m assuming basic seed-starting and plant-growing skills and just focusing on hot weather germination.
Baseline information
There are excellent tables of germination temperatures in Nancy Bubel’s New Seed Starter’s Handbook and in Knott’s Vegetable Handbook. There you can find not only the optimum temperature range for each vegetable, but also the minimum and maximum temperature, the number of days to emerge at different temperatures and the percentage of normal seedlings produced at different temperatures. Nancy Bubel also has lists of flower seeds that need light to germinate, those that need darkness, and those that often do best with light, even if it’s not essential. I recommend reading these tables from time to time, you may find surprises! For instance, I knew that spinach does not germinate well at high temperatures. The tables say the optimum temperature range is 40-75°F and the maximum temperature is 85°F. One year, after a frustrating time trying to germinate fall spinach, I took a closer look which revealed that spinach will produce 82% normal seedlings at 59°F, but only 52% at 68°F, and a miserable 28% at 77°F. I hadn’t realized how worthwhile it is to somehow get lower temperatures for spinach, rather than working at the top of the possible range. Get one of these books and a soil thermometer. Johnny’s seed catalog has a Germination Guide for many of the main vegetable categories, giving the optimum soil temperature range. This kind of information can save you from wasted effort.
Variety selection and seeds
Some varieties of some crops have better germination at hot temperatures than others. Consult the catalogs, especially ones from hotter parts of the country, and take a look at what growers in areas one or two zones warmer than you are growing.
Viability and vigor of seeds deteriorates if they are stored in warm places, especially if containers are not airtight, and the air is humid. If you have crops you grow in spring and again for the fall, store those seeds in a cool place over the summer. Older lettuce seed suffers less from heat-induced dormancy. A few months of storage can make the difference, but you might consider buying seed of your favorite hot weather varieties a year ahead. Chilling lettuce seed can help germination in hot weather. We make a practice of putting our spinach seed in double zip-lock bags, and putting it in the freezer for two weeks before we attempt late summer sowings. This gives the seed an extra “winter” so it can be tricked into germinating better.
Soil temperature
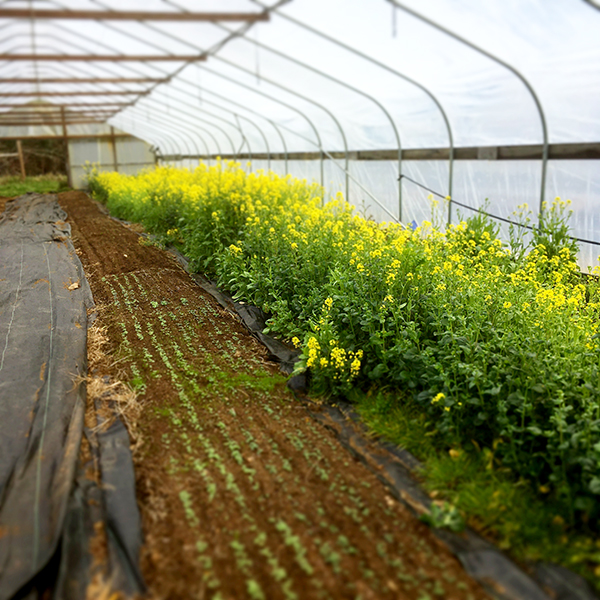
Summer temperatures can make it hard to establish the crops which will grow well once the weather cools down. Crops which germinate best at soil temperatures below 80°F include beets, carrots, lettuce, onions, parsley, parsnips, peas, and spinach.
Brassicas: It can be surprising to find that most brassicas will germinate faster at 86°F than at 77°F. Turnips can be up the next day, and will still come through in 1.2 days at 95°F. Winter radishes and daikon have no trouble germinating. Beyond 86°F though, don’t expect much from the leafy brassicas (cabbage, broccoli, cauliflower). See the articles on fall brassicas in back issues of GFM from June 2006 and July 2004.
Beets prefer 50-85°F, and take 14.6 days to emerge at 50°F, 8.7 days at 59°F, 5.8 at 68°F, 4.5 at 77°F and 3.5 at 86°F, their optimum temperature. Notice that if you can maintain a soil temperature between 77-86°F, you only have to do it for a few days. The percentage of normal seedlings drops off in hot weather above 86°F. Beets are notorious for spotty germination – their seed coats contain a germination inhibitor. Presoaking for two hours can help dissolve this compound. Room temperature water is better than cold water, and running water is the best, I’ve heard. Another option is to pre-sprout them just until small red shoots are seen. Getting good soil contact seems to be important, so tamp the row well after planting. It was a surprise to me to find beet seedlings transplant well, in case you need to know! They will be set back about two weeks.
Carrots prefer 45-85°F, with 80°F being optimum. Carrots can germinate in as little as 6 days at this temperature. People who use pre-emergence flame-weeding for carrots and use a few beet seeds sown in the row as an indicator of when to flame, will notice from the tables that beets are about half a day ahead of carrots at 50-68°F, but more than a day at 77-95°F. The challenge with carrots is to keep the soil surface damp until the carrots come through.
Lettuce likes temperatures of 40-80°F, with 75°F being the best. It germinates in only 2 days at 75°F. 85°F is the maximum temperature at which lettuce will germinate, and even then, only 12% normal seedlings will be produced, in contrast to 99% at temperatures at or below 77°F. See my article on hot weather lettuce in GFM of August 2007, and access the podcast of Keith Damian’s presentation on Year Round Lettuce at the 2008 VABF Conference: http://www.vabf.org/conf2008pod.php
Onions come up best at 50-95°F, with 75°F being optimum. They will still germinate at 90°F, but more slowly, and the percentage of normal seedlings will go down from over 90 to 73. Most people wait for fall and won’t be thinking about sowing onions in hot weather, but perhaps you want scallions to fill your CSA boxes, or a quick crop of cipollini mini onions.

Parsley can be hard to germinate any time, but 75°F is the optimum temperature, and it will still take almost two weeks.
Peas can make a good fall crop if started early enough to mature before frosts. 85°F is the optimum temperature, and 95°F the maximum. Peas are easy to pre-sprout, see more later. Mature pea plants are more easily killed by frost than seedlings. In mild winter areas, peas can be fall sown for a spring crop. Sow 1” apart to allow for extra losses.
Spinach is probably the crop that gives me the most challenging time. Its optimum temperature is a mere 70°F and its maximum 85°F. As noted earlier, it’s worth getting down as close as possible to 60°F to get a good stand of healthy seedlings. Swiss chard germinates best at 85°F, so consider if chard or leaf beet could substitute for spinach if the fall is being impossibly hot. Pre-sprouting spinach seeds in fall is very worthwhile.
Reducing temperatures outdoors
If soil temperatures are too high for good germination of your crop, look at options for cooling a small part of the outdoors, with shade from other plants or shadecloth, and cold water, ice, or covering the soil with boards or burlap bags. For crops you normally direct seed, in hot weather consider cooling a small nursery bed for your seedlings and transplanting later. Sowing lettuce at night (or at least as late in the evening as you can), will give better emergence because the temperature-sensitive phase of germination can occur while soil temperatures are lower.
Sowing indoors
If outdoors is impossible, start your seeds indoors, either in flats, or simply pre-sprouting the seeds. For instance, you may have room in your refrigerator or cool room for a plastic flat of lettuce. If it’s important to keep the space clean, put the flat in a clear plastic bag and open it a couple of times a day to let fresh oxygen in. The floors indoors are usually cooler than shelves. Wet newspapers are another option for covering flats until seedlings emerge. Plants in plug flats, cell packs or soil blocks will transplant with less shock than plants from open flats.
Air, light, darkness
Seeds need oxygen to germinate. Carrots germinate best in a high oxygen concentration – perhaps being near other growing plants in the garden helps them, as the plants put out oxygen during photosynthesis? Cucurbits are particularly sensitive to low oxygen/high CO2. Would using a fan help them germinate? Make sure your direct seeded crops don’t drown in an excess of water that pushes out all the air, or in over-compacted soils.
Unlike flowers, most vegetables are indifferent to whether they have light or darkness when germinating. At high temperatures, celery and lettuce do better when they receive some light, therefore don’t sow too deeply.
Water
Getting enough water to the seed and maintaining that level can be tricky in hot weather. For large-seeded crops which we hand sow, such as beans and sweet corn, we water the furrow generously before we plant. Then after covering the seed with soil we might tamp the surface with the back of the hoe, or shuffle along the row using our feet to put the soil in good contact with the seed. If we have been planting into a very well watered furrow, we skip the tamping. Pre-watering ensures that the water is right there at seed level, where it is less likely to dry out. Often this is enough water to get the seedlings up out of the ground.
Soils which tend to crust can make life difficult for small seeds that are slow to germinate. Reduce the chances of soil “capping” or crusting by keeping soil cultivations to a minimum, and watering ahead of planting. If crusting is likely, avoid tamping or rolling the soil hard. Some people sprinkle sand, grass clippings, straw or sawdust lightly along the rows. There is a recommendation in Fedco’s seed catalog for brassicas, to sow in trenches for better stands in dry conditions.
Watering after sowing should be shallow and frequent. Drip irrigation is a help for direct seeded crops, although it can be hard to get even watering all along the row. We use overhead sprinklers at night for close planted small seeded crops. Chilled water, night watering and even ice on top of the rows can help reduce temperatures as well as supplying vital moisture.
Soaking
Some seeds can be soaked for a couple of hours or more before sowing. We generally soak beans and peas overnight before planting. This helps large seeds get all the water they need to absorb for the initial sprouting. After that the smaller amounts needed to keep growing are more easily found. Small seeds that have been soaked tend to clump together, so after draining off as much water as possible, mix them with a dry material like uncooked corn grits, oatmeal or bran, or use coffee grounds or sand. If you plan to put soaked or sprouted seeds in a seeder, dry off the surfaces of the seeds by spreading them out in a tray for a while. Experiment on a small scale ahead of a big planting, to make sure your seeder doesn’t just turn the seeds to mush, or snap off any little sprouts. The length of time to soak a seed depends on its size: bigger seeds can benefit from longer, say overnight. Don’t soak legumes so long that the seed coat splits, as they then lose vital nutrients and may become vulnerable to attack by fungi. I suspect when I’ve had failures with soaked beet seed it’s because I soaked them for too long and they suffocated due to a shortage of oxygen.
Pre-sprouting
To pre-sprout seeds for out-of-season growing, first soak them. Then drain off the water which has not been absorbed, and put the seeds in a suitably cool place. Rinse twice a day, draining off the water. Special plastic draining lids are sold for Mason jars, for people who grow sprouts to eat. These are great to use, but you can also make your own with a piece of nylon window screen held on with the lid ring, or a rubber band. For large quantities of seed we use plastic one gallon jars from catering sizes of mayonnaise and mustard. A pasta strainer is a helpful tool, or a sieve held upside down closely in the mouth of the jar.
Usually, it’s best to sprout the seed just until you see the seed has germinated. Seeds with long sprouts are hard to plant without snapping off the shoot. For most crops 0.2” (5mm) is enough. For lettuce half that length is good, and one day may be time enough. If your pre-sprouting has got ahead of the weather or the soil conditions, slow down growth by putting the seed in the refrigerator. For fall sown spinach we do the whole sprouting process in the fridge, and I confess we don’t rinse them very often at all! One week is a good length of time for fridge sprouting of spinach.
If you have left-over soaked or pre-sprouted seeds, you can store them in the fridge for a while, until you see if you got good germination outdoors. If not, and the seeds still look good, go ahead and fill the gaps in the row. This spring we had a crop failure of bush beans in our hoophouse, and we filled out the space with leftover soaked snap peas seed and grew ourselves a crop of pea shoots for salad!
Fluid Sowing
A novel way of helping seeds get established in difficult conditions is to sow pre-sprouted seeds in a jelly which protects them from damage. Emergence will be earlier, and so crops can get to maturity quicker, which can be an advantage if the winter arrives too soon after the summer in your region, or if you are working to extend the seasons to a maximum. Sprout the seeds, and once the shoots are 0.2” (5mm) long, rinse and strain them gently. Make up a starch or cellulose paste. In England I used wallpaper paste, although it is important for organic growing to make sure the paste has no fungicides.
A cup of thick cornstarch paste is easily cooked up by making a smooth slurry with 1-2 tablespoons of cornstarch and a small amount of cold water. Heat the rest of the cup of water, then stir in the slurry and boil for one minute to activate the cornstarch, stirring gently. If the paste is becoming too thick, stir in a little more water. Possible substitutes for cornstarch include the same quantity of xanthan gum, pectin, agar, gelatin, arrowroot, potato starch or tapioca. If using regular flour, use twice as much. Allow the paste to cool, then gently stir in the seeds. They should not sink when the mix is allowed to stand. If they do, the mixture was not thick enough. Start again and decant the seed layer to mix into the thicker paste.
Pour the mixture into a plastic bag, and when you get to the garden, snip a small corner off the bag. Ideally the mixture should squeeze out into a damp furrow at about 1 tablespoon per foot of row, and should contain the number of seeds you want to plant in that distance. It may be worth experimenting on the kitchen counter first! After sowing in the garden, cover the seeds with soil in the usual way.
Pam Dawling is the garden manager for Twin Oaks Community in Virginia. The gardens provide the 100 residents with nearly all their fresh and preserved fruits and vegetables.

 If you’ve been a subscriber to Growing For Market (or even if you haven’t), you’re probably familiar with the many advantages of no-till agriculture. No-till methods can reduce a farm’s carbon footprint, promote complex soil biology, and preserve and build organic matter.
 Here's a system to track all those details
 Since its founding in 1968 by my husband Eliot Coleman, Four Season Farm has sought to produce the best vegetables possible, using soil-based organic methods, on a small amount of land. When I showed up in 1991, Eliot had begun to pioneer winter vegetable production, and I was delighted to give up the landscape design business I’d run in Connecticut and grow veggies with him. Then, about 10 years ago, flowers started to creep in.


 Until two years ago I was germinating all seedlings in greenhouses using almost exclusively bottom heat from electric heat mats. At my current farm we only had space for about 8-10 trays on our two mats and we definitely noticed differences in the germination (and presumably the heat the mats were providing) on the edges of our trays.
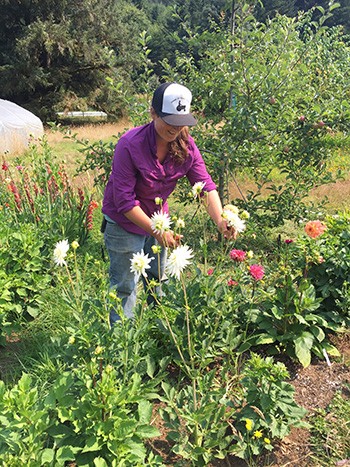


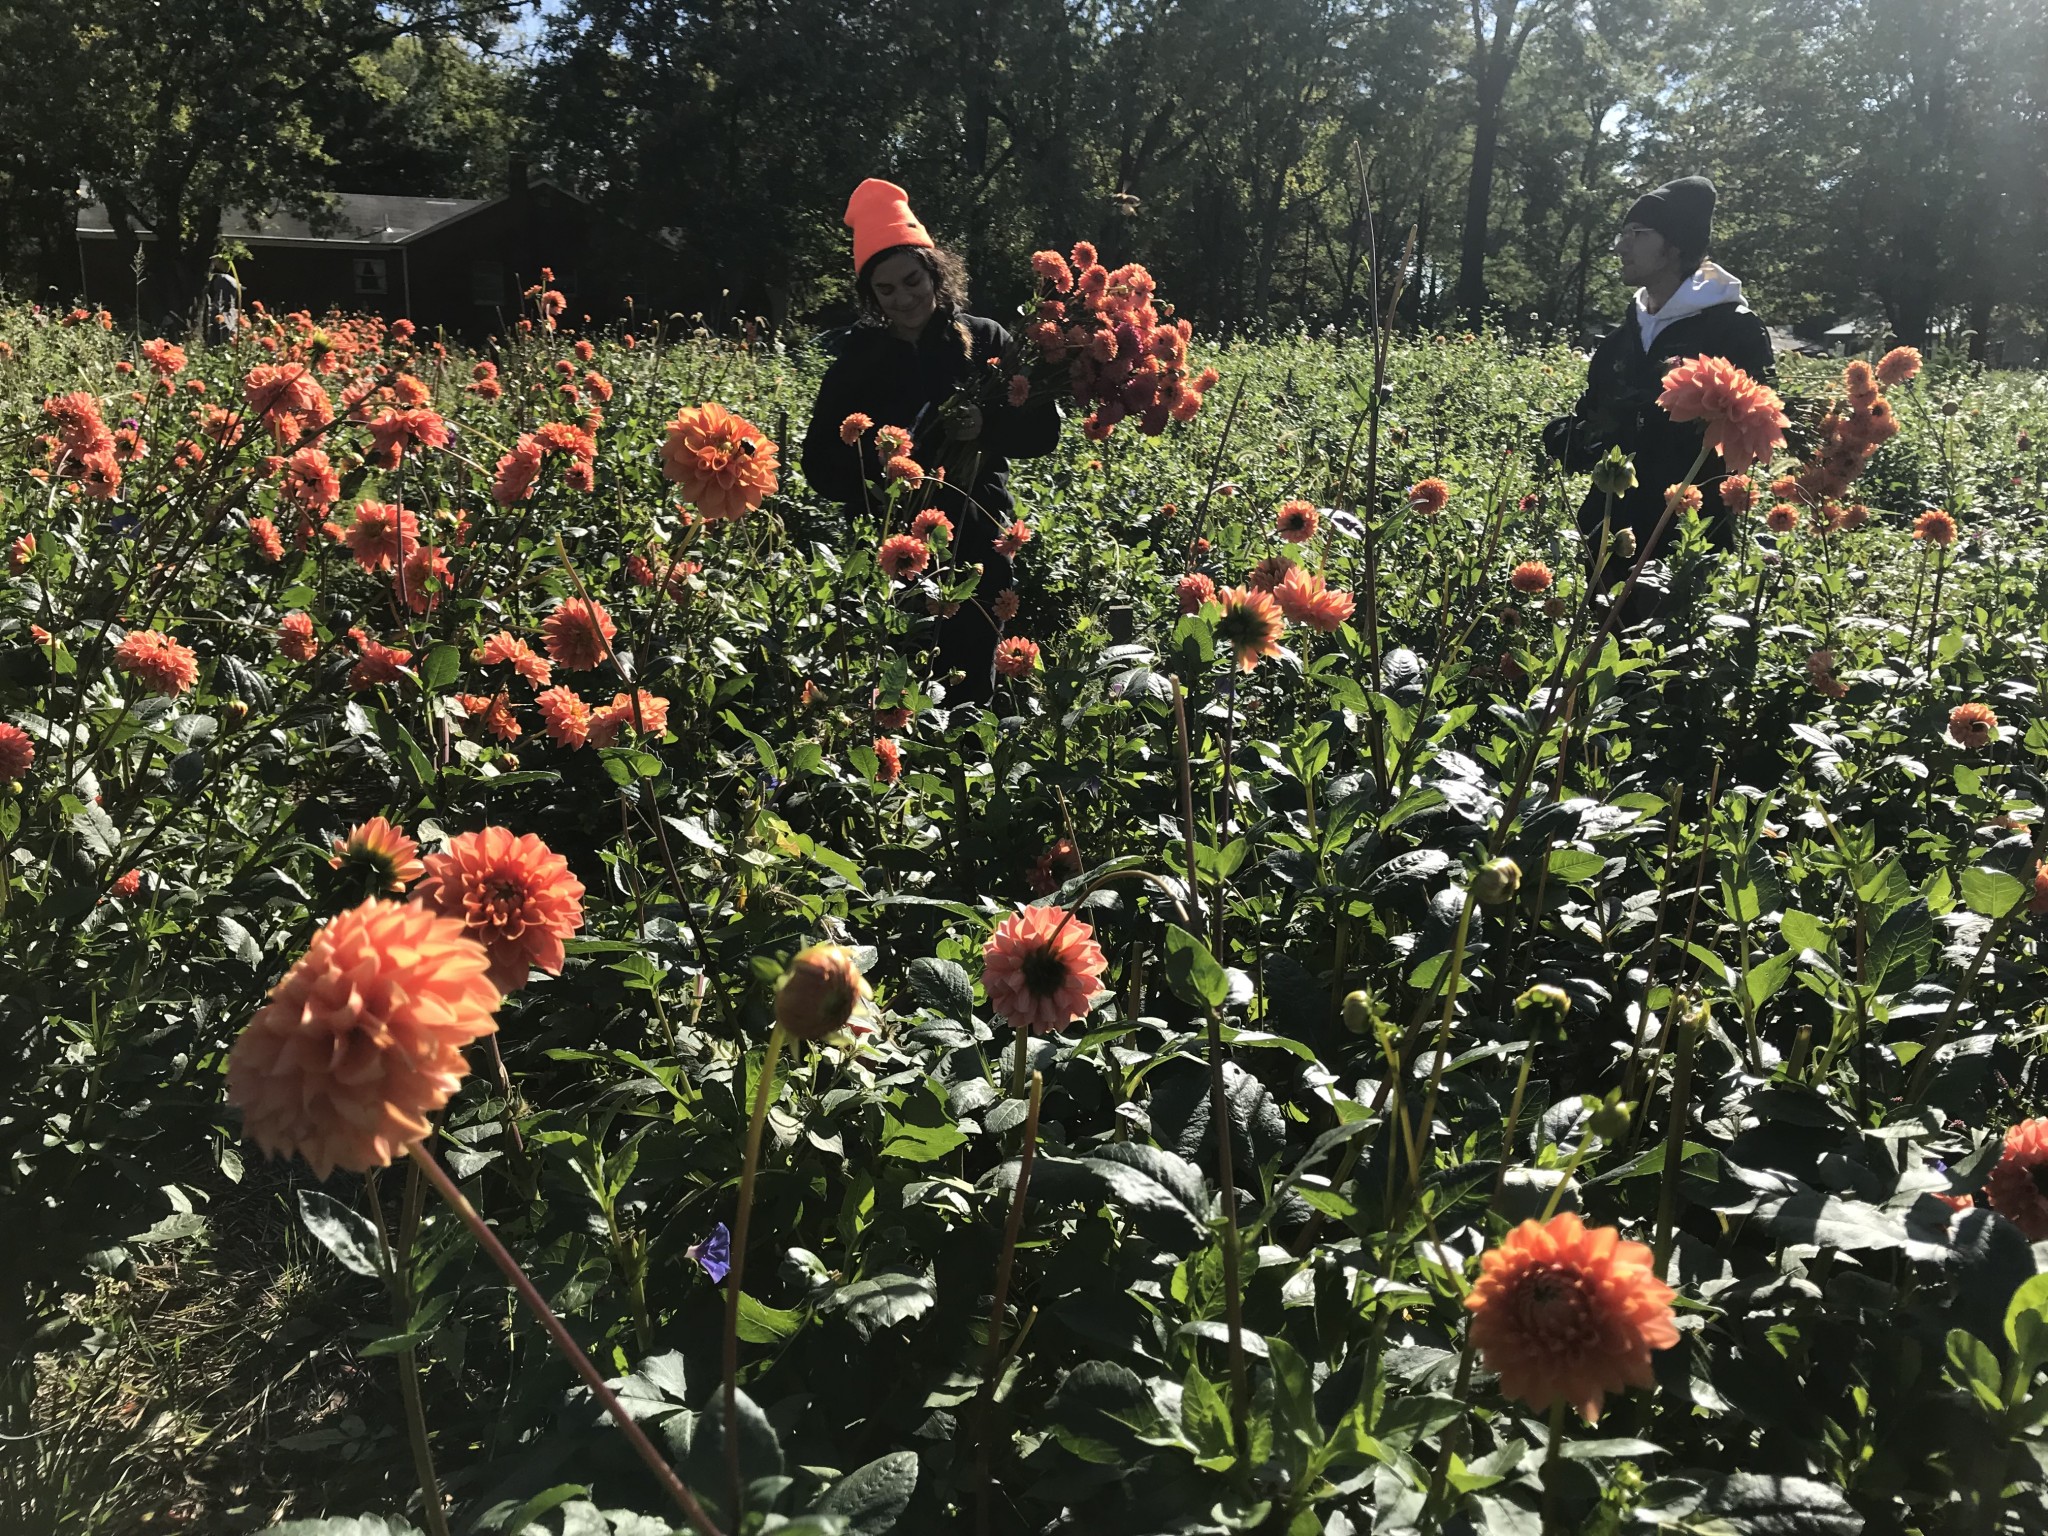 Dahlias were our number one crop this year, even beating out lisianthus and ranunculus by a landslide. We have tried many different methods of growing them, and these are the solutions we’ve come up with. I’m sure there are still better ways, and if you know of any, definitely send them our way! This year we planted 7,000 dahlias and plan to plant even more next year as we increase our growing space. Let’s just start at the beginning with planting and work our way through the whole process.


