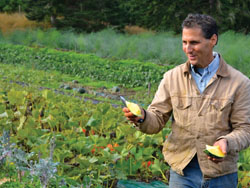
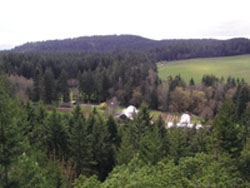
Michael Ableman is well known in many farming circles for the work that he did in developing Fairview Gardens in Goleta, California, and for the beautiful books of farm photos and essays, and numerous articles and essays that he has authored over the past two decades. He is perhaps less well known for his current work at Foxglove Farm on the beautiful island of Salt Spring in British Columbia, Canada. Foxglove Farm comprises 120 acres near the top of Mt. Maxwell, the high point on the island. Much of the farm is forested, a large lake sits just above the farm, and a big hayfield makes up the bulk of the arable ground. Michael has been transitioning some of the hayfield to small grains and dry beans and peas. The bulk of the farm production is done in a few acres of small fields that surround the original log house homestead. Those fields grow a mix of annual and perennial vegetables, and fruits that are sold at farmers markets and to restaurants and stores on the island.
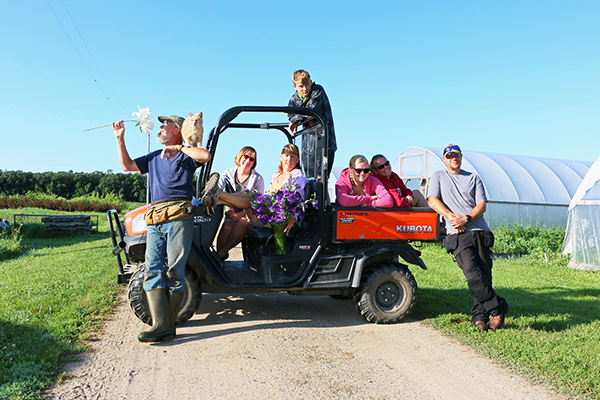
I met Michael when he was still farming in California, but I’ve gotten to know him much better as we’ve worked together on several projects over the past four years. One of the most fun projects I’ve gotten to be a part of is his Centre for Arts, Ecology and Agriculture. For the past three years Michael and I have co-taught a workshop on market farming. Each year he shows folks his bed shaper and talks about how important he thinks making raised beds is to his success in the fields. At first I wasn’t at all sold. I’m starting to come around now, so I thought I’d describe his process as I understand it and the tools he uses, as well as giving some of my thoughts on the value of making raised beds.
Raised beds aren’t appropriate everywhere. When I started getting interested in farming, one of the first places I volunteered was at the Native Seed SEARCH grow out gardens in Tucson. They were using sunken beds to conserve moisture and keep the beds from getting too hot. From there I worked on two farms in California that used raised beds and one in Connecticut that planted on the flat before I ended up at here in Oregon where it was up to me to decide how to make the beds. I never intentionally raised the beds, although our soil was so light after spading (and light in texture) that simply by driving a cultivating tractor to mark the plantings the tire tracks would sink a couple of inches, essentially raising the bed slightly. One of the reasons I didn’t want to raise the beds any more was to maintain as much ground clearance as possible for the Allis Chalmers G cultivating tractor, which doesn’t have a lot of ground clearance to start with.

When I started my own operation, I didn’t bother raising the beds and I was actually using sod in my pathways. Now, three years later, I find myself transitioning my field to raised beds to take advantage of several critical advantages here in the Northwest. The two big advantages for those of us who suffer wet, cold conditions at critical times of the year are better drainage and warming of the soil in the planting zone. A few other advantages I’m noticing and appreciating as I start lifting all of my beds, and concurrently sinking all of my pathways are easier management of pathway weeds, and the few extra inches of height actually does make hand work a bit more ergonomic. An advantage that I don’t use, but could be helpful to many folks I talk to, is with guidance of cultivating tools off the back of a tractor. The shoulders of a raised bed can be used to guide cultivation tools using cone wheels that ride along the shoulders keeping both the depth and tracking consistent from pass to pass. This is especially useful if you’re cultivating off the back of a tractor.
As my tiny farm is completely hand worked, I simply use a heavy hoe to move soil from the pathways and onto the bed top. Michael, even at just a handful of acres, invested in a bed shaper for the back of his tractor that has several convenient added features, like a drip tape layer, and a plastic pan liner. He also uses a BCS with tiller and the furrower attachment in his high tunnels for making narrower beds for tomatoes and peppers. Both of these shapers use a similar approach to making the beds, which is pretty much the same approach that most bed shapers use. First the soil is worked to a good depth to loosen it and break up clods. Then furrowers are used to throw soil up onto the bed top and a flat pan is used to flatten the top of the bed.
With the BCS one furrow is made at a time, centered behind the tiller so that the tiller is working half a bed on either side. You can do this in one pass, but it usually works better to do an entirely flat and deep pass to start which loosens up the soil and gives a finer texture. The finer the texture the easier it is to get a bed with clear definition. Michael’s 850 has wheel weights and water in the tires to increase traction, which is helpful in pulling a deep furrow. It also has a differential lock which helps to keep the tiller moving straight. Even with all of that it’s quite a workout wrestling the two-wheel tractor to make straight and even beds. The abundant rocks in his soil don’t help matters either.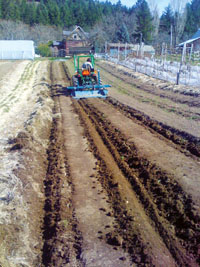
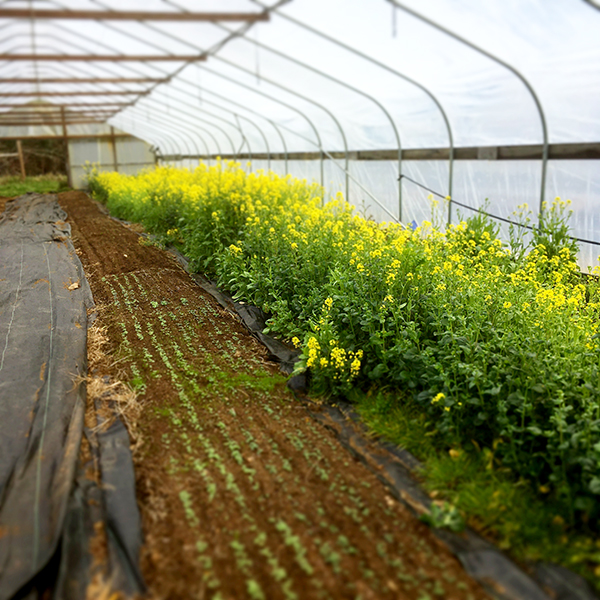
In the field, Michael uses a pan-type bed shaper made by Buckeye Tractor Co. in Ohio that fits on the back of his John Deere 790 utility tractor. The shaper works two furrows at once, shaping the entire bed in a single pass. The first time the beds are formed the soil needs to be loosened. Usually Michael does this with a deep rototilling or similar treatment with several heavy disk passes. He also has a chisel and mower that he uses in some conditions. If the beds have been previously formed, it is possible to just use the bed shaper to reform them without additional work if there’s minimal trash on the bed. On Michael’s set-up, two furrowers clean out the pathways, and two disk hillers in front of the pan shaper help move soil to the middle of the bed to make sure that the soil flows well through the pan which funnels and presses it into a nice flat bed. The pan is shaped like the final bed, pressing the top flat and keeping the shoulders of the bed pressed in and smooth as well. It’s important to get the settings for the angle of the pan adjusted, as well as the depth of the furrowers and the disk hillers. If the ground is flat and even this can be set up pretty quickly. Nothing at Foxglove farm is flat or even, though, so frequently the top link of the 3-point hitch needs adjustment between downhill and uphill runs.
Michael’s shaper has a plastic poly liner on the inside of the pan to help the soil flow cleanly and to reduce wear on the metal. This liner has lasted four years of hard use and is now ready for replacement. He also has attachments for burying drip tape on the bed surface. This is essential for beds that he covers with plastic mulch in order to keep the tape from moving around under the mulch between irrigations. He has a separate plastic layer that he uses after shaping the bed. The two operations can be combined on bigger, flatter fields that have good sized headlands, but things are tight and short at Foxglove so it doesn’t work to combine too many operations in one pass.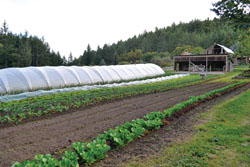
Bed shaping implements rely heavily on soil flowing smoothly, as do many other field operations, like cultivation and tillage. This means that proper soil moisture is important — not too wet or it will smear or ball up, not to dry or it won’t hold its shape, or simply be too hard to move through. It also means that working the soil to a relatively fine texture is helpful, a texture with not too many clods or rocks, or too much unbroken-down plant material, which will create voids around them and can also drag, creating unintentional furrows.
There are lots of versions of bed shapers out there. Just as I was starting to write this article I came across a new post on FarmHack.net linking to a very fancy bed shaper attachment being developed by Local Roots Farm near Seattle. A simpler approach I’ve used and seen on other farms is to mount a tool bar off the back of a rototiller, or spading machine which can pull furrowers. The hinged gate acts to flatten the bed top while the furrowers clean out the pathways. Even simpler is to attach metal plates to the hinged gate on the back of the tiller that direct the freshly tilled soil coming out the back toward the center. These can be made from heavy scrap angle iron and bolted directly to the gate, although you may have to play a bit with the placement and depending on the strength of your gate hinges you may need to also bolt them to the side panels. If the hinged gate is locked down so that it doesn’t float up a very nice bed can be formed.
I’ll be back up at Foxglove in September for another workshop with Michael. I’m curious to see what he convinces me to do in my field next.
Josh Volk farms outside Portland, Oregon, and consults with growers across the country. Contact him at www.joshvolk.com.

 Until two years ago I was germinating all seedlings in greenhouses using almost exclusively bottom heat from electric heat mats. At my current farm we only had space for about 8-10 trays on our two mats and we definitely noticed differences in the germination (and presumably the heat the mats were providing) on the edges of our trays.
 If you’ve been a subscriber to Growing For Market (or even if you haven’t), you’re probably familiar with the many advantages of no-till agriculture. No-till methods can reduce a farm’s carbon footprint, promote complex soil biology, and preserve and build organic matter.
 Here's a system to track all those details
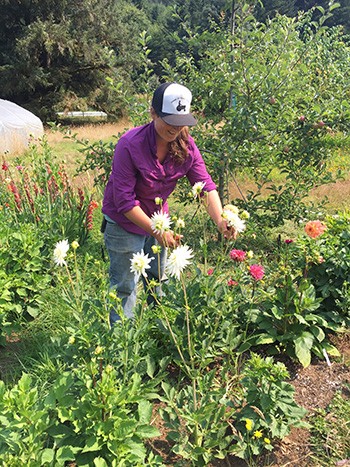


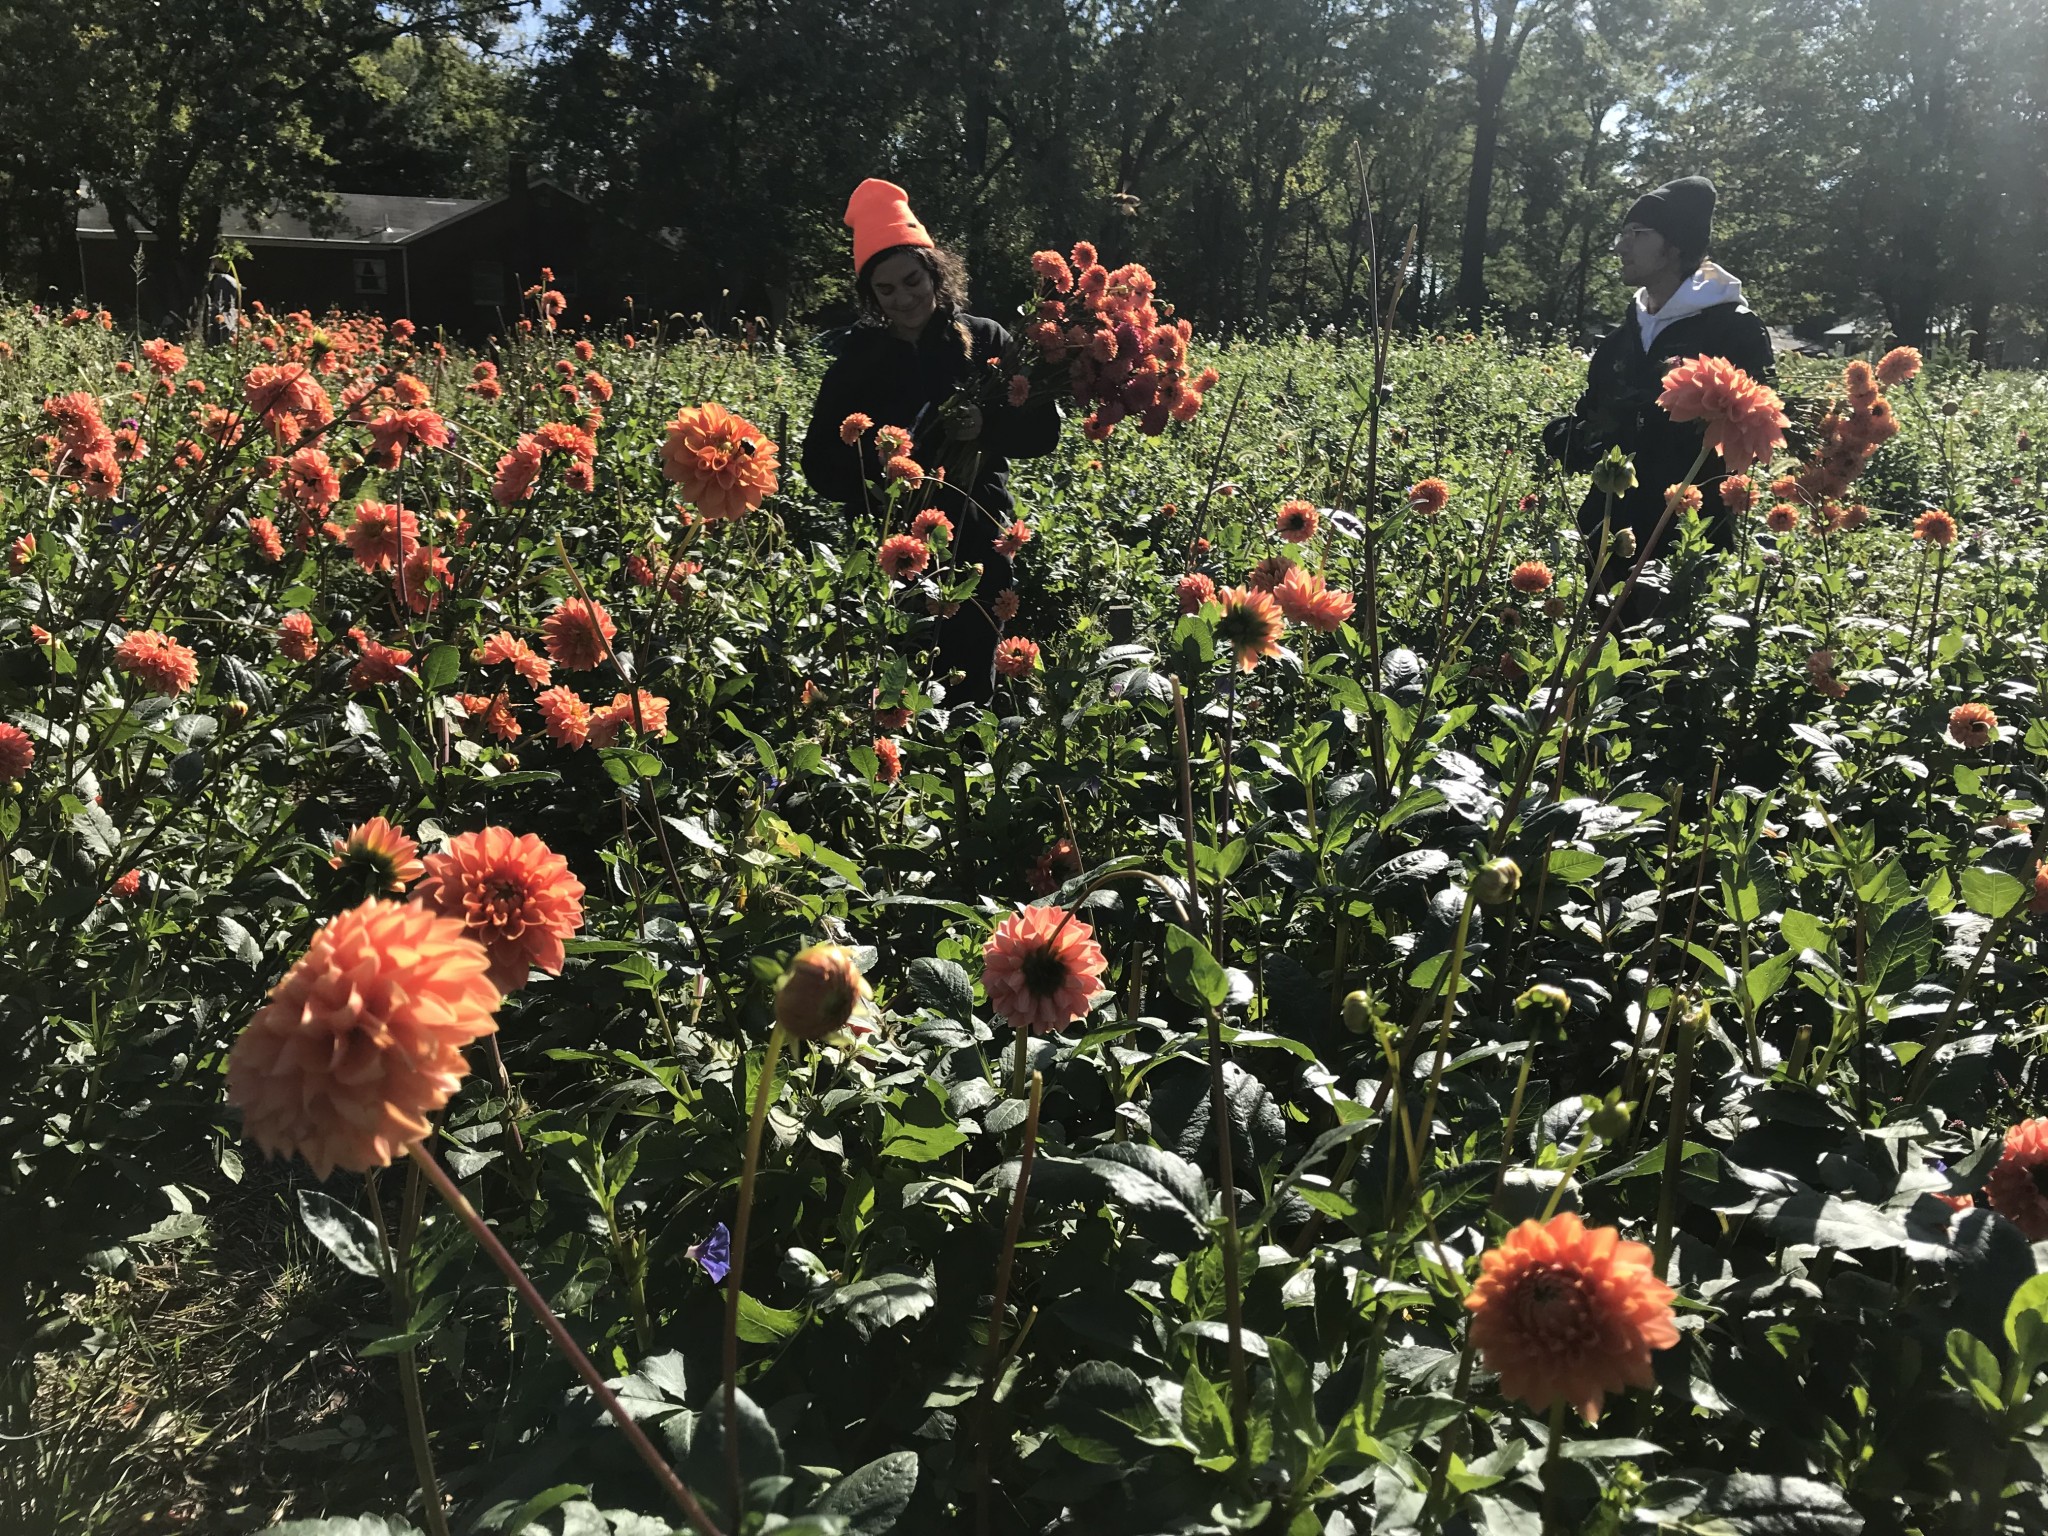 Dahlias were our number one crop this year, even beating out lisianthus and ranunculus by a landslide. We have tried many different methods of growing them, and these are the solutions we’ve come up with. I’m sure there are still better ways, and if you know of any, definitely send them our way! This year we planted 7,000 dahlias and plan to plant even more next year as we increase our growing space. Let’s just start at the beginning with planting and work our way through the whole process.


 As I write this in December, the planning season is beginning in earnest. My wife and I have begun poring over our records from this past season. We’re tallying yields and plantings, adding up labor, and trying to make sense of the hastily scribbled notes in the margins of our records that we so urgently wanted our future selves to remember so we wouldn’t make the same mistakes again. Soon we’ll begin our winter planning meetings with our customers. Hopefully out of that process will emerge a production plan that theoretically enables us to pay our expenses and ourselves - provided we can enact it with only the usual amount of unpredicted surprises.


