By Carolina Lees
If you’ve been a subscriber to Growing For Market (or even if you haven’t), you’re probably familiar with the many advantages of no-till agriculture. No-till methods can reduce a farm’s carbon footprint, promote complex soil biology, and preserve and build organic matter.
On my farm, Corvus Landing Farm in Oregon, and every farm I’ve worked on, we’ve relied on tillage and mechanical soil disturbance. I’ve been intrigued by the potential benefits of no-till, but it’s not how my farm has operated. I’ve invested in tools and systems that depend on tillage, and all of my experience and practice are in a tillage system.
I started to wonder if there was a place for no-till on my farm. Reducing tillage may not give me all the benefits of a completely no-till system, but it seems a more achievable goal than completely reinventing my farm from the ground up. With tillage reduction, I can get some of the benefits of no-till and some of the benefits of tillage. I can gradually work toward a system that might offer the best of both worlds.
This is an ongoing process. This article isn’t meant to give answers but to describe what I’ve done, what I’ve learned, and where I’m going next. When I read about well-established no-till farm systems, I have a difficult time imagining how to get my farm from here to there, or whether those systems would even work in my climate and on my farm. Others in the same position may find it helpful to read about the steps in between.

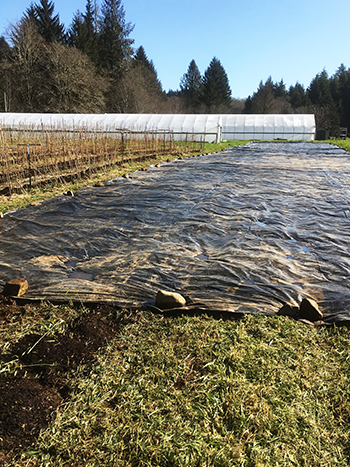
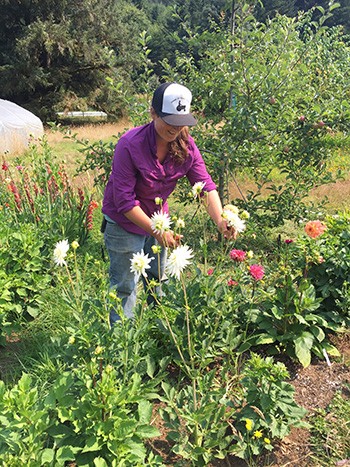
Above and below: newly prepped winter squash beds. The beds were flail mowed, banded with compost, and covered with a tarp. All photos provided by the author.
First steps
I started experimenting with no-till in my hoop houses, which I since learned is a common gateway. I first tried no-till for happier tomato plants; I’d read that tomatoes prefer a fungal-dominant soil biology and that no-till was the way to get it.
I’ve since converted to 100 percent no-till in my hoop houses, though I used tillage initially to get the beds established. Hoop houses are contained environments, making them easier to experiment in. The lack of wind makes it easier to use covers and mulches, which make weeds more controllable.
In my hoop houses, most beds are empty in winter and covered with landscape cloth. Beginning in late January, I start early rotations of salad mix, radishes, or other dense, quick crops. I pull the landscape cloth off and leave it in the aisles to control weeds. Before planting, I broadfork the bed, amend it, weed if needed, and rake it smooth. The whole process takes about 30 to 45 minutes for a 100-foot bed, and it gets faster each time as the bed gets easier to broadfork and the weed pressure goes down.
I follow the spring crop with tomatoes, cucumbers, or some other heat-loving crop, with summer rotations going in the ground starting mid-April. I’ve found I can quickly and efficiently flip the beds by cutting or mowing down the existing crop, leaving it in place, and weeding just where the new plants will go. I cover the bed with landscape cloth prepared with burned planting holes, which is conveniently laying in the aisle right next to the bed. Sometimes I broadfork, sometimes I don’t bother.
After a couple years of this, our hoop houses are full of healthy, productive plants. Broadforking is fast and easy, the beds are loose to plant into, and our weed pressure is pretty manageable. While the active prep time per bed is higher than with my tilled beds, the time lapse between crops can be as little as an hour.
Taking it outside
I’ve been really happy overall with the no-till methods I use in the hoop houses, so I started to think about ways to incorporate them into the field.
The potential benefits are tempting. In my cool, maritime climate, most outdoor beds only get a single crop. Shortening turnaround times might allow me to double-crop more beds, increasing my production and yields. It also allows me to be more nimble in the spring, since I don’t have to rely on dry weather for several passes with tillage equipment.
No-till can reduce weed pressure: not stirring up the seed bank combined with good weed management sounds like a winning proposition. And, of course, sequestering carbon and improving soil and crop health are the best reason of all.
Nonetheless, I see many potential challenges. My outdoor space is much larger, so scale is an obvious issue. The small, hand-scale methods I use for bed prep are time consuming and physically demanding. No-till is frequently done on a larger scale with equipment and mechanical solutions out there to cut down on the hand labor. But I don’t actually own them and haven’t figured out what the right equipment might be for my farm.
I love landscape cloth in the hoop houses, but I’ve avoided covering my field in plastic. Organic mulches like straw would be a better ecological choice than plastic, but are expensive and labor intensive. The cooling qualities of deep organic mulches limit their appeal in my climate, and they create habitat for pests such as slugs and voles.
I rely on tillage for rodent control, weed control, and slug control. In our mild northwest winters, weeds grow and rodents reproduce year-round. Symphylans are a major issue with few effective controls beyond tillage. My cool, wet climate makes weed control difficult, since even small weeds frequently don’t die after hoeing or flaming.
So where to start? Many farms have found ways around these issues and thrive with no till. In 2019 I took a haphazard approach to no-till experimentation, leading to less than effective decision-making. Looking ahead to 2020, I decided to pick a few crops and a few sections of the field for experimenting.
I have two zones with shorter beds that are difficult for the tractor to access, so those seemed like a good place to begin. I also decided that, similar to the tomatoes in the hoop houses, wider-spaced crops would be the simplest candidates for no-till prep. For me, that means zucchini and winter squash.
My no-till planning process started last fall. Normally, I don’t do my crop plan until winter, but I knew I had to think ahead to set the beds up for no-till in the spring.
For the cucurbits, I made sure that the beds had a good stand of cover crop going into winter. I mowed down the cover crop in March and left it in place as mulch. I spread a band of compost and amendments down the centers of the beds, then covered the beds with a tarp and left them until I was ready to plant in May. A big advantage of this method is it is relatively immune to wet weather; I just needed a window dry enough to mow sometime in early- to mid-spring.

For the zucchini, I laid drip lines and covered the beds with prepared landscape cloth (holes burned every two feet), then planted directly into it. The soil was compacted from winter rains and they were difficult to plant. In retrospect, I should have broadforked down the center of the bed. But we got it done, and it was amazing to have my zucchini beds ready and waiting two months early.
I covered the winter squash beds with a large silage tarp, which I removed at planting time. Rather than broadfork the large area, I used a chisel plow to break up any leftover hard pan. While this isn’t a no-till implement, it leaves mostly uninverted soil and plenty of residue on the surface. I then laid down drip lines and spread prepared landscape cloth. These beds were a breeze to plant into. As I write in early July, the squash are looking great.
I plan to leave the landscape cloth in place through next winter; neither crop will be finished during our window for getting cover crop in. The cloth will provide surface protection for the soil, and next spring I’ll pull it back and move it to the new cucurbit bed, leaving a fresh seedbed for the next crop.
While I haven’t yet seen how my squash will yield, I’m happy with these methods. I was able to reap the benefits of winter cover crop, but also prep the beds well in advance. April and May are busy, but I had beds ready and waiting, warming up under the black cloth.
Overall, it didn’t take any extra time, and was probably quicker. Laying out the ground cloth was the most time consuming task. That is offset by time not spent weeding, more rapid growth from warmer soils, and not having to turn the beds over in fall.
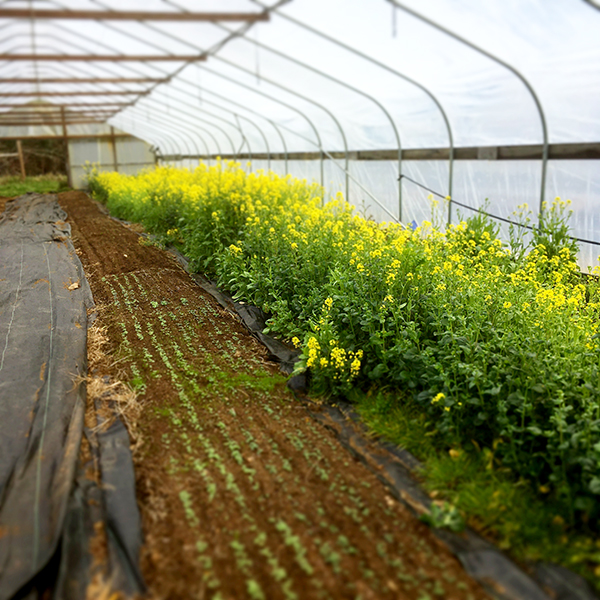
Well established no-till beds in the greenhouse. These are over-wintered flowering salad greens and early spring greens.
I may not leave these beds untilled permanently, but they will have at least a year and a half of undisturbed soil, which will preserve organic matter and help keep my weed seed bank in check. I would probably use this method on other longer-term, widely spaced crops, but these are the only ones I grow outdoors.
The other no-till zones on the farm were designated for flowers and brassicas. Last fall, I removed any weeds going to seed and covered both areas with a silage tarp. Starting in April, I gradually removed the tarps and amended, broadforked, weeded, and raked the beds. Some beds were easier to broadfork, and we ended up with lovely tilth for planting. A few bed surfaces were too dense to rake, so I eventually tilled them with the walk-behind. Mulching with a thick layer of compost may have been a better no-till choice; maybe next year.
I’m still figuring out what my endgame is with these two sections. Will I flail mow and tarp the beds? Remove the weeds and crop residue by hand at the end of the season? I’d like to use cover crops, but I’m not sure how to accomplish that at the end of the season without removing everything by hand. In the hoop houses, I’ve been working with either quick crops that outgrow the weeds or long-term plants, grown in plastic, that are easy to remove.
Low tillage
In addition to designated no-till zones, I’ve also been experimenting this spring with reducing tillage across the farm. My goals are to leave surface organic matter in place longer and to leave soil undisturbed below the very top layer. This is both to feed and protect soil biology and to avoid bringing fresh weed seeds to the surface. I also want to avoid working wet soils and reduce the challenge of unpredictable weather in the spring. And as always, I’m trying to do it as efficiently and effectively as possible.
I have started using silage tarps on my farm in the last couple of years, and they are a great tool for reducing tillage. I had tarps covering fall-prepped beds, to be pulled off for early spring plantings. In other sections, I grew a winter cover crop that I mowed in April and covered with a tarp that was pulled back in June.
The fall-prepped beds had mixed success. I had hoped that these would emerge ready to plant, but ground water and gopher action altered the beds significantly. I pulled the tarps off in early April and ended up tilling most of them. With others, we broadforked and raked or did a very shallow till to make a smooth seedbed. Broadforking followed by a shallow till produced a lovely seed bed with a lot less disturbance than the usual several passes with a tiller.
The cover-cropped beds were left later under cover and had more time to digest. When I pulled off the tarp, the cover crop and weeds were fully dead and partially broken down. I did a single shallow pass with the tiller to incorporate amendments and create a workable surface, then transplanted broccoli and cabbage into them. I did a second pass on beds for direct seeded crops (salad mix, cilantro, radishes), though I might have been able to get away without it. Some of these beds remain to be planted, and I plan to use the flame weeder to keep the weeds under control until they are sown. Results so far look good.
While this certainly isn’t no-till, I hope that this minimal tillage will allow more of the organic matter to be sequestered in the soil and will be less disruptive to soil life. The beds were left undisturbed for more than half a year. If I can stay on top of the weeds, I may be able to cover-crop them without tilling in the fall. It reduced the pressure to till in unsuitable, wet conditions and kept weeds under control until I was ready to plant. I’d like to do this hybrid cover-crop, silage-tarp, light-tillage combination again.

Landscape cloth is used in the aisles and to cover unused beds.
Next steps
I have read that no-till systems get easier the longer they are in place, and many of us are not going to transition to no-till overnight. Soil gets looser, weeds get weaker, and microbes do more of the work for you as they mature. I’ve been dipping my toes in, but what’s next?
A few things seem worth building on. Going forward, I will lean toward no-till on transplanted, wider-spaced crops; I may try it out on brassicas as well as cucurbits next year. I’m finding it more challenging to get a good seed bed for dense, direct-sown crops, but using tarps combined with mowing and little or no tillage feels like a good direction to go. I found that this works better in my climate for later rotations, since the very early spring isn’t warm enough to effectively kill back and break down a cover crop or many overwintered weeds.
A few things stand out to me as challenges needing more strategy and attention. Good weed management is always important, but I’m finding it more important in no-till beds since I can’t count on tilling in everything as soon as the crop is done. I see two major challenges with weeds: how to deal with aisles and how to flip the bed at the end of the season.
Once a bed is harvested, if it is weed-free, I can mow and cover it either with a tarp or cover crop. But if I have weeds left, I don’t want them to go to seed under a tarp, and they would be competition for getting a cover crop established. Surface mulches, either landscape cloth, paper mulch, compost or straw, seem like a key element in a no-till system.
Aisles are another challenge. We normally leave narrow aisles, which we hoe up to a point but eventually leave alone, then till in before the weeds go to seed. But without tillage, the aisles are harder to hoe, and I can’t count on that tillage pass to knock them back. Adapting what I do in the hoop houses, I purchased some narrow rolls of landscape cloth to lay down in some no-till aisles. Others I mulched with straw. Some no-till farms leave wider aisles and mow them, relying on winter tarping to maintain the edge of the bed. I don’t do any tractor cultivation, but am considering that aisle sweeps or something similar could be a good investment.
While tillage is one main purpose of the tractor, it’s not the only one. To increase the untilled areas on the farm, I need to consider tractor access for things like fertilizing, mowing, and mulching. I’d also like to figure out a mechanical alternative to broadforking, which may turn out to be our chisel plow. If I plan to set up permanent, untilled beds, I want to be mindful about making sure the tractor can access all sections of the field without driving on them.
I’m feeling my way through this process. As I examine my methods and equipment, I try to keep my goals in mind. I want to sequester carbon in the soil, reduce soil disturbance, and have healthy soil and healthy crops. I want my farming to get easier, or at least not harder. I’m not committed to being completely no-till, but I do want my farm to be as regenerative and resilient as it can be.
Does a single, shallow surface till compromise these goals? How about a vertical tillage pass with the chisel plow? I expect that my answers will change over time, but using tools and techniques I’m familiar with in a better way feels like a worthwhile improvement for now.
Carolina Lees started Corvus Landing Farm in 2010 at the Oregon coast. She and her crew farm two acres of vegetables, providing for the small communities surrounding the farm through farmers markets and a 60-member CSA.


 Until two years ago I was germinating all seedlings in greenhouses using almost exclusively bottom heat from electric heat mats. At my current farm we only had space for about 8-10 trays on our two mats and we definitely noticed differences in the germination (and presumably the heat the mats were providing) on the edges of our trays.
 Here's a system to track all those details

 Since its founding in 1968 by my husband Eliot Coleman, Four Season Farm has sought to produce the best vegetables possible, using soil-based organic methods, on a small amount of land. When I showed up in 1991, Eliot had begun to pioneer winter vegetable production, and I was delighted to give up the landscape design business I’d run in Connecticut and grow veggies with him. Then, about 10 years ago, flowers started to creep in.


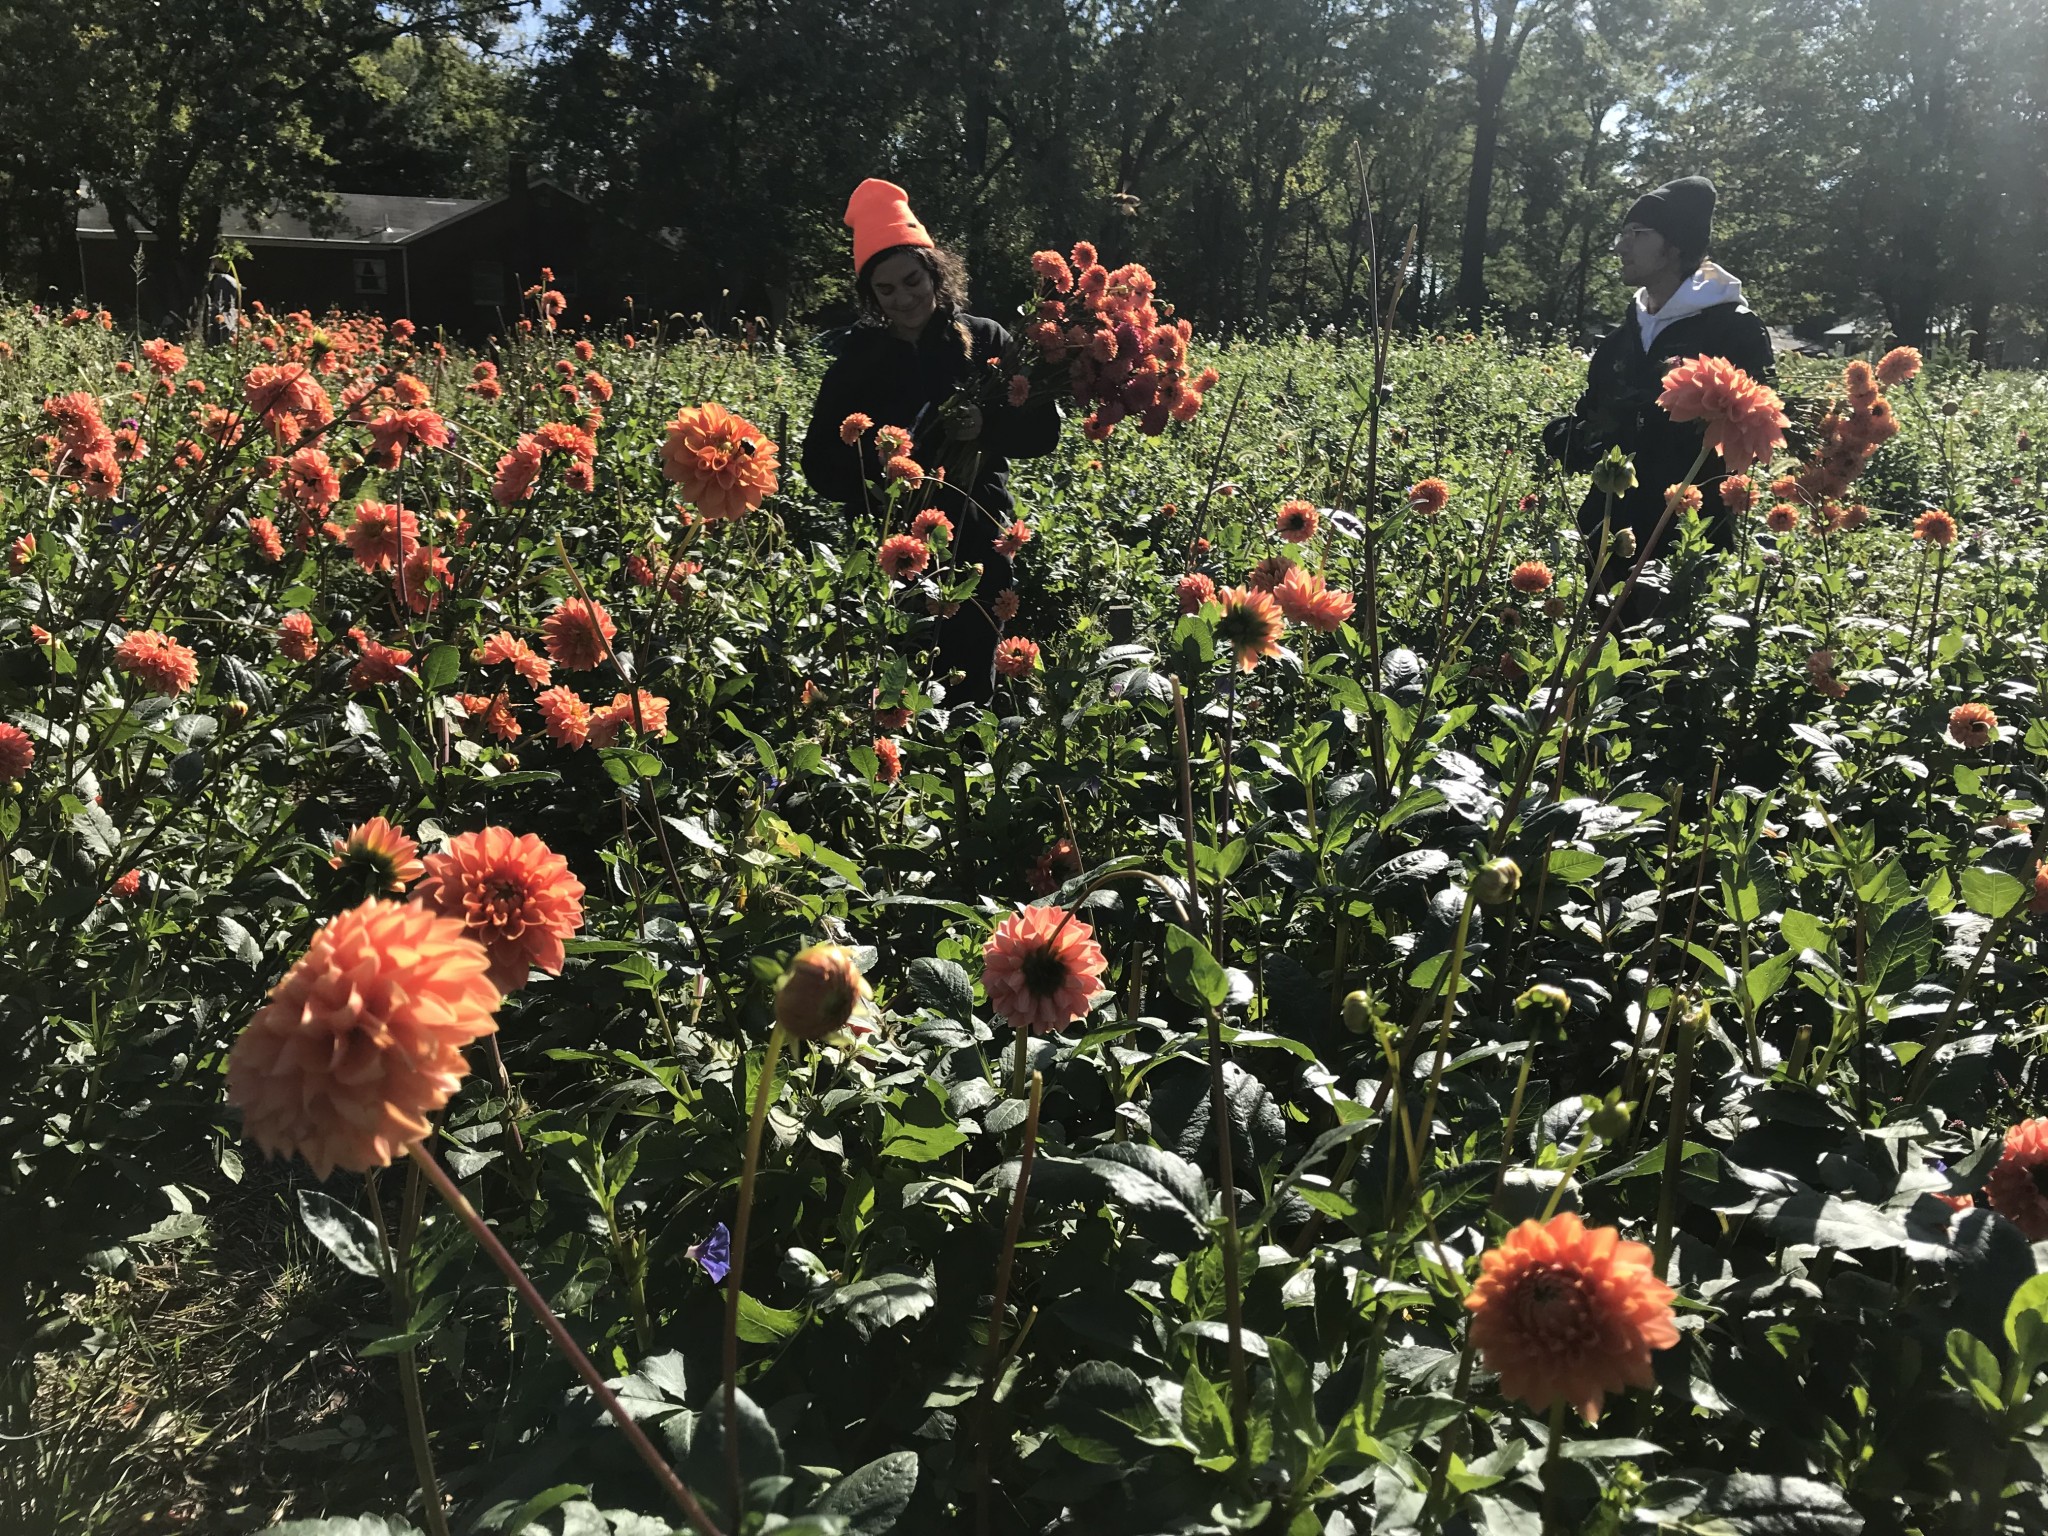 Dahlias were our number one crop this year, even beating out lisianthus and ranunculus by a landslide. We have tried many different methods of growing them, and these are the solutions we’ve come up with. I’m sure there are still better ways, and if you know of any, definitely send them our way! This year we planted 7,000 dahlias and plan to plant even more next year as we increase our growing space. Let’s just start at the beginning with planting and work our way through the whole process.


