Sometimes when turning over beds, I would try to rush through it and not do a very good job. This would cause a whole mess of problems: uneven growth, weeds, beds that are too narrow, too much of the last crop poking through, and an all around reduction in production. Now when I show others how to perform the turnover, I stress the importance of thoroughness. Making sure that the beds are laid out exactly and that turnovers are complete has increased my success rate dramatically and made all bed tasks easier as a result.
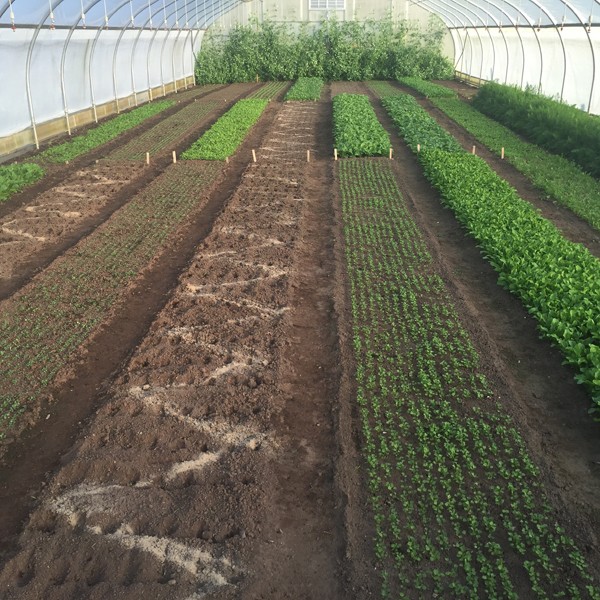
In my previous article, I discussed the importance of starting with a planting bed free of both perennial and annual weeds. I also covered how to achieve this in both the short and long term. Once a bed is weed free, the next step is to lay out the grid and make them permanent. The permanency of the beds is in itself a system of efficiency. Beds don’t shrink from foot traffic and irrigation can remain in place. The layout of the farm stays the same from season to season. Beds are ready to grow when the snow melts, and farm maps can be produced with each bed assigned a unique ID.
I use the standard 30” bed. Most tools are designed to fit a 30” bed, so that size makes the most sense for me, since I would rather buy my tools off the shelf than have them made custom. There is more freedom when it comes to path size. I chose 14” because it works well with a 12” wheel hoe blade, which is the widest that is made. Our harvest totes are 13” wide, so to save space, I felt 14” was the tightest I could go while still having paths that are comfortable to work in. A path of that size is easy to stand in and place a bucket on the ground, even for someone with big feet like myself.
All the beds at Neversink Farm are staked at the corners. This helps with their permanency. Without this, it is the path that gets wider over time, reducing the production area. This results in the edges of the beds getting trampled, ruining a large percentage of crops. Thus staking them in some way pays for itself very quickly.
I keep the following tools on hand for staking beds accurately: a hammer, two metal spikes, a bed template made of wood for the placement of stakes, a template for depth of stakes, and a spool of string. I use one-inch square hardwood stakes that are placed at the four corners of every bed. The spool of string does double duty as it is also used as a straight edge between the stakes when planting or seeding.
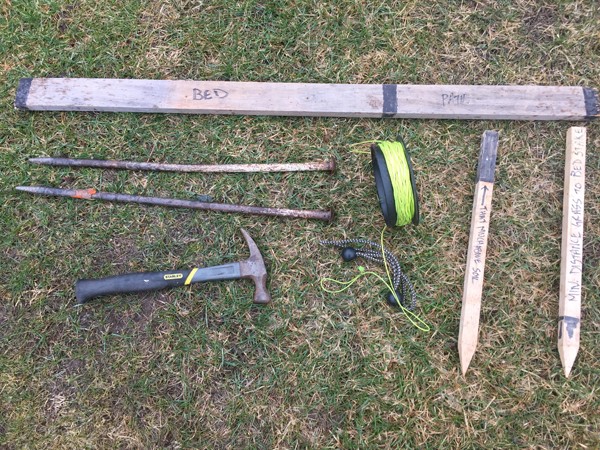
a template for depth of stakes, and a spool of string. The bed template makes a 30” bed with a 14” path.
The stake depth template (with the black top) shows how much of the stake should be sticking out of the ground.
It is labeled “that much above soil.”
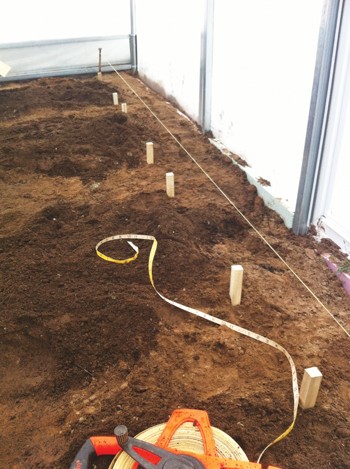
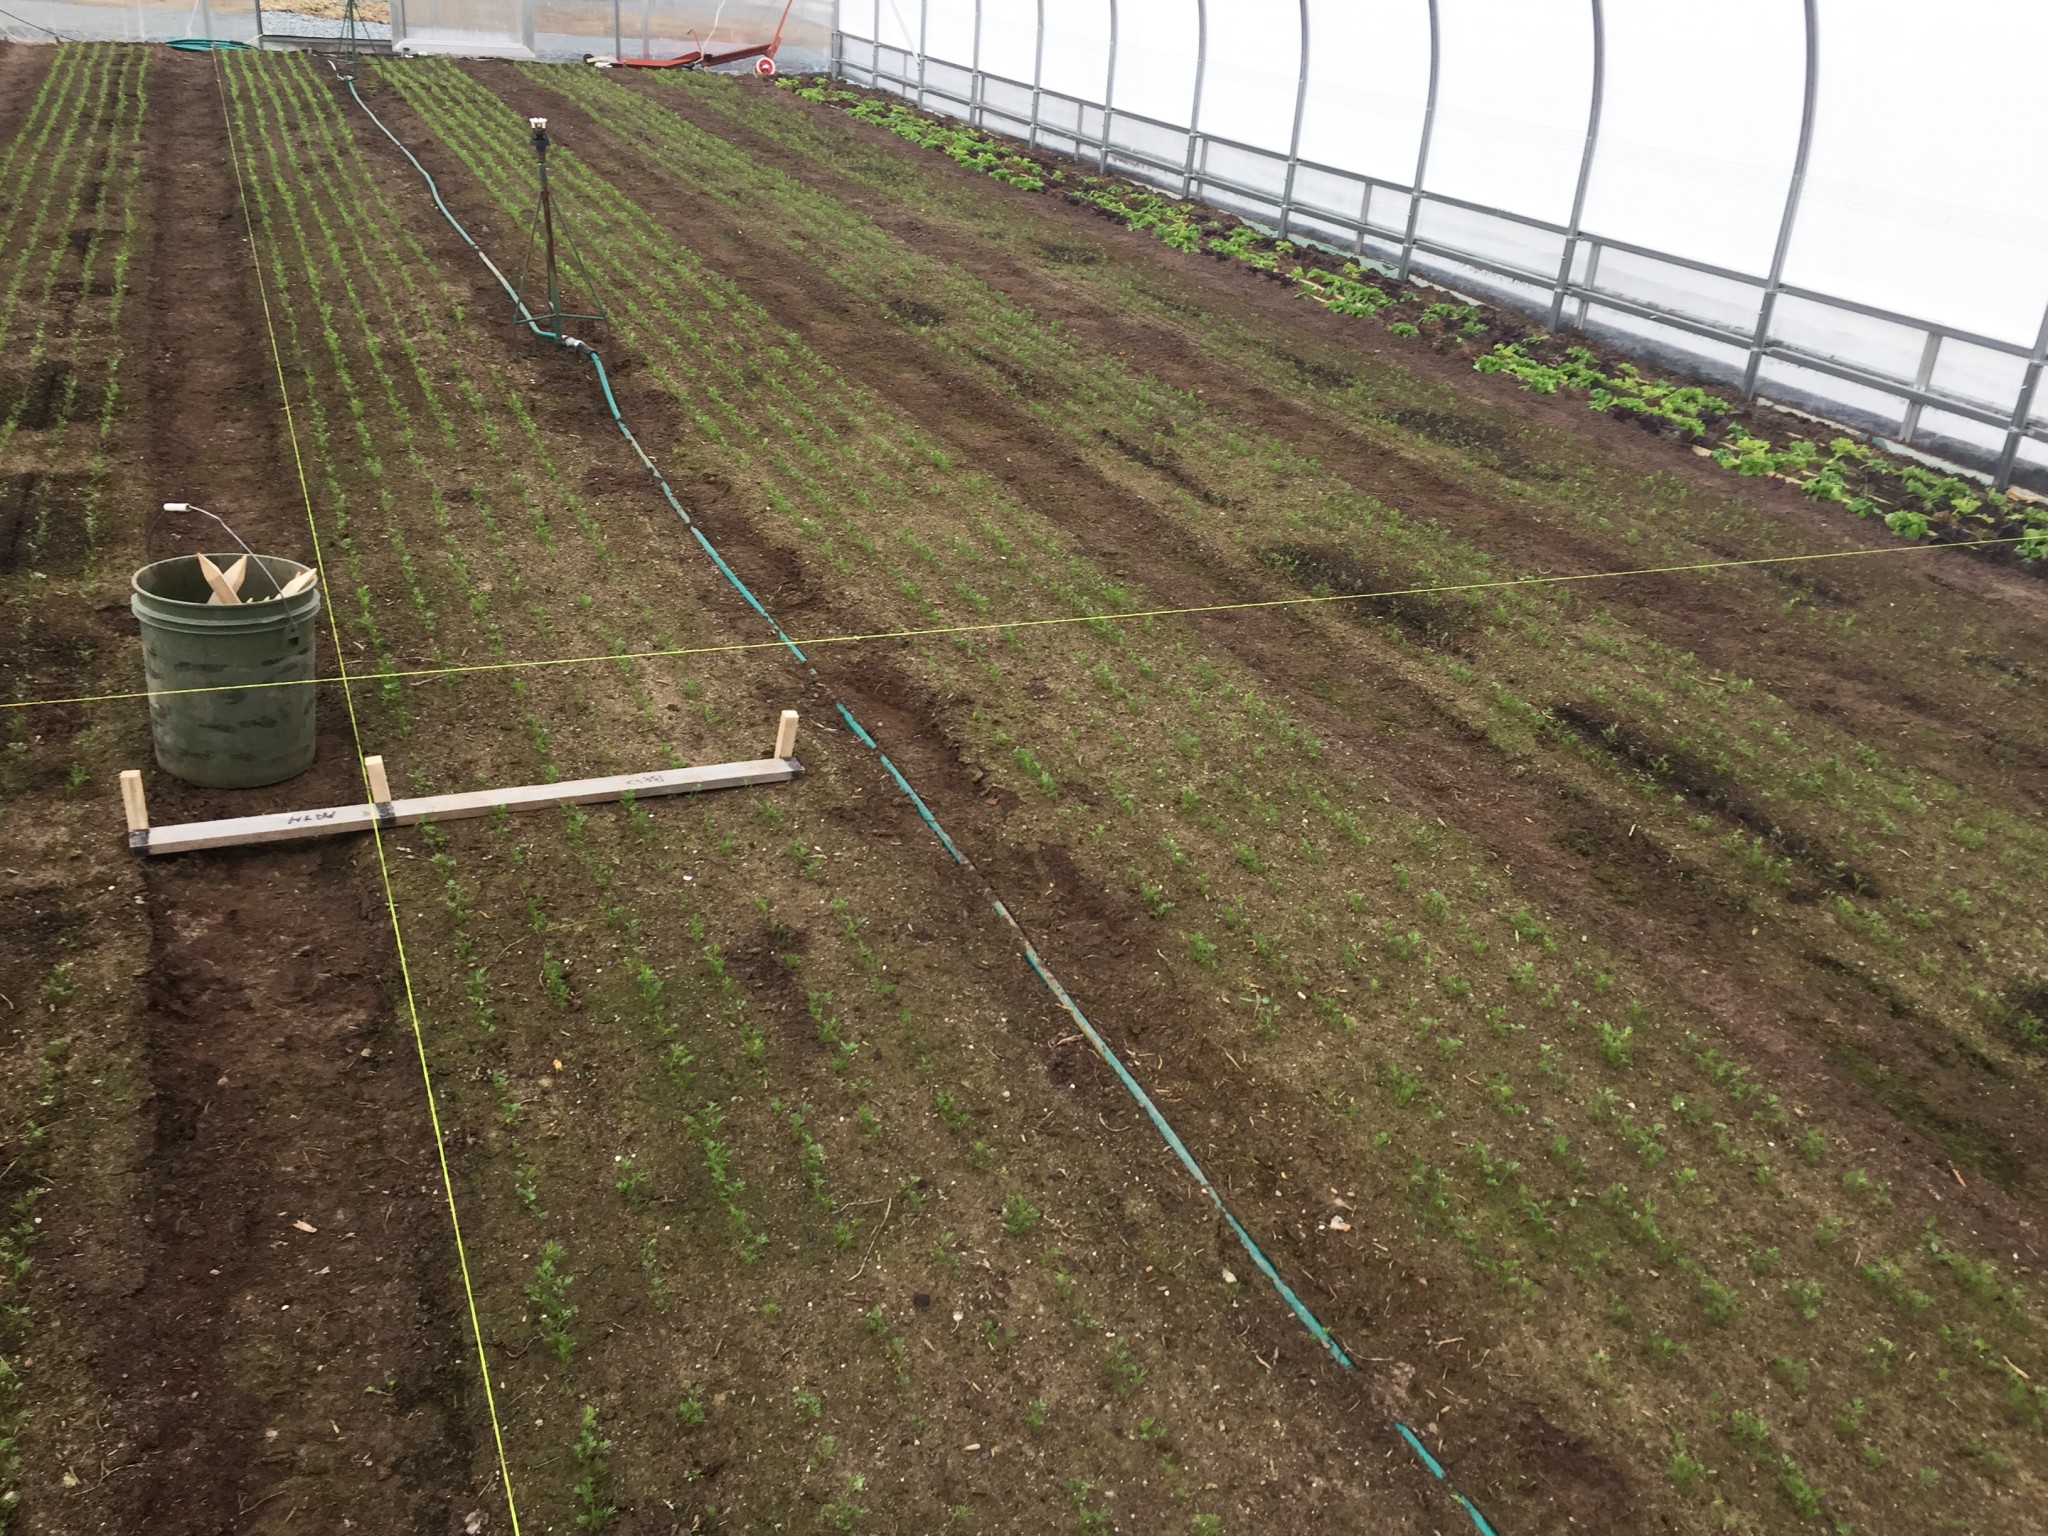
Laying out a section of field begins by placing the metal spikes at each corner of the field. I then run a string between them at about ten inches off the ground. This serves as the guide for the bed stakes, so that all bed stakes are placed in a straight line. Then using the bed template, I work from one side to the other hammering in the stakes to the desired depth. Depth is checked with the depth template. I use a push spreader on the field, so my desired depth is one that gives the spreader a slight clearance.
The bed stakes are placed in the bed rather than in the path. Thus the 30” is measured from the outside of one stake to the far side of the next bed stake. This enables clearance for the wheel hoe and people’s feet. Bed stakes need to be replaced over time, so I keep the templates, a hammer, and stakes in a kit on our tool racks and I make stake replacement a required step during the task of turning over beds.
Now that all the beds are staked, we can move on to prepping or turning them over. Preparing a bed is the same as turning over a bed minus the first step of removing vegetable matter. Bed turnover takes place between the harvest of one crop and planting the next. The following tools are used when the permanent beds are prepared or turned over: a weed hook (like the CobraHead), stirrup hoe, buckets, broadfork, bed stake replacement kit (if necessary), and a tilther. There are four easy steps we always follow.
a string and one-inch hardwood stakes.
Step one
All vegetable matter is removed. Root crops like beets, carrots and radishes are the easiest crops to remove since most of the plants should have been removed during harvest. Depending on how they were harvested, there may only be tops to rake up. Larger crops like chard, kale, cukes and zucchini are pulled by hand. There are usually no more than a plant every foot so I consider these crops almost as easy. Head lettuce, Bok Choy or Napa Cabbage is cut at, or just below ground level during harvest, so the only green matter removed from these beds during a turnover is usually stray weeds. The roots of these crops are left in place.

Baby greens are the most challenging. I have new field hands practice turnovers on baby greens. It takes skill that is acquired over a few weeks to learn the quickest method for the different conditions one could face. Overgrown greens almost always need to be pulled out by hand, which is something to be avoided. Young greens should be cut as low as possible with the greens harvester first. Even if the bed was already harvested, it is good to go at it again and give it a close buzz cut. While doing this, I tilt the harvester back slightly to keep the blade away from the soil. For many greens, like baby kale or arugula for example, this will kill most of the plants since the cut will be well below the growing tip.
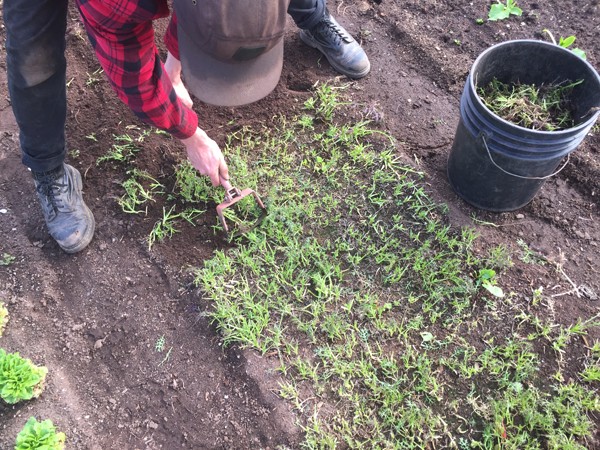
After a quick haircut with the harvester, the greens are then cut at ground level with a sharp stirrup hoe, leaving the roots behind. We keep a couple of short-handled 6” stirrup hoes on hand for this purpose. This is done carefully, row by row, so that all plants are killed. The bulk of the leafy matter is taken away while some of the dead leaves and all the roots are left. This technique takes a bit of practice to be able to do quickly. One’s technique is important. It is best to remove baby greens immediately after harvest. Younger greens are removed more readily so I recommend not harvesting more than a couple of times prior to turnover.
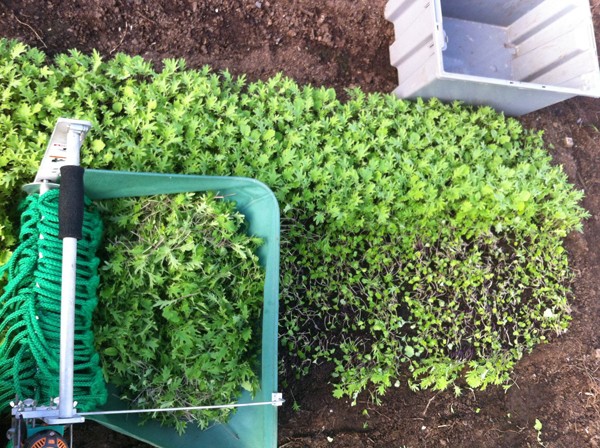
Prior to turning over a bed, most of the organic matter is removed by cutting with the quick cut greens harvester, above. Then the plants are cut at the soil level with a short-handled 6” stirrup hoe, below.
Baby greens removal is the slowest step during bed turnover even if your technique is great, thus we are always looking for ways to improve it. I was lucky enough to discuss this with Eliot Coleman last fall, and he imagined a method involving a weed whacker and some pipe contraption. So we will be experimenting with it this season and hopefully design a system around it. I will report on it through our social media.
When I say to remove vegetable matter, I am including weeds, thus the need for the weed hook. It is important to start with a completely clean bed. One should never plant or seed into weeds. If you wish to use the stale seedbed technique after turnover, you will be much more successful if you finish the turnover with no weeds.
Step two
The second step is broadforking. This is done deeply until the fork’s crossbar hits the soil. The length of the tines determines how far apart to fork. Thus broadforks with ten-inch tines are used every ten inches along the bed. Removing any rocks that the fork hits is very important. I forbid walking on planting beds and I add amendments that will keep the soil loose, because non-compacted rock-free beds are very pleasant to fork and each time rocks are removed it makes the next turnover easier.
Step three
The bed is amended and conditioned depending on that bed’s needs. In an upcoming article, I will discuss our fertility in detail but during every turnover something is added for either fertility or soil condition or both. At this point any bed stake that is rotten or missing would be replaced.
Final step
Lastly, I use the tilther. The tilther is my power tool of choice. It is light, simple, and has just enough power to do the job. A bed must be free of rocks, most vegetable matter and be forked for the tilther to work well. It disturbs only the top inch of soil and works in the amendments and smooths the bed. Organic amendments will not do much if left on the surface. To see their benefit this season, they must be worked into the soil so that they can begin to break down. That one-inch deep tilthing is all that is needed. Lettuce head roots pop out of the soil with a slight tug back on the tilther. I keep a tilther along with all the other tools mentioned on every tool rack around the farm.
No till production, for me, is quick and easy. Turning over beds rapidly is key to high production. This no-till bed turnover really helps in having every square foot of ground producing, since it can also be done inside greenhouses in winter when you don’t want to bring in heavy equipment. Until next time, I wish you easy and profitable farming.
Neversink Farm’s No-Till Definition:
We all have heard the adage, “there are as many ways to farm as there are farmers.” No-till methods are no different in that there are many types of no-till systems. At Neversink we do not use a tiller, nor do we employ a two wheel tractor. I have defined tilling at my farm as any inversion of the soil that would change its natural layering, or the regular use of heavy machinery. This is my personal definition and not intended as a label that I use beyond my farm. Outside of my farm I accept far broader definitions of no-till systems as perfectly valid.
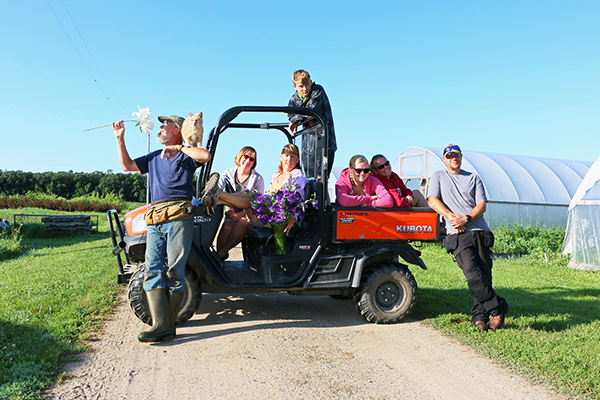
Conor Crickmore is a farmer and small farm consultant who lives and works in the Catskill Mountains of New York. He owns Neversink Farm, a 1.5 acre, no-till and no-tractor vegetable farm. For more info- website: neversinkfarm.com Instagram: @neversinkfarm Facebook: neversinkfarm youtube: search Neversink Farm.


 If you’ve been a subscriber to Growing For Market (or even if you haven’t), you’re probably familiar with the many advantages of no-till agriculture. No-till methods can reduce a farm’s carbon footprint, promote complex soil biology, and preserve and build organic matter.
 The modern age could very well be termed the age of carbon. We have increased the amount of carbon dioxide (CO2) in the atmosphere by more than a third since the Industrial Revolution began. A gas that keeps heat from the sun contained within the earth’s atmosphere, CO2 makes up more than three-quarters of the greenhouse gas emissions in the world. At the same time agriculture is currently experiencing a carbon crisis, with 50-70% of the world’s carbon in farmland soils off-gassed into the atmosphere due to tillage. Carbon is the single most essential element in soil fertility as it aids soil structure development, water retention, nutrient retention, and biological processes.
 Until two years ago I was germinating all seedlings in greenhouses using almost exclusively bottom heat from electric heat mats. At my current farm we only had space for about 8-10 trays on our two mats and we definitely noticed differences in the germination (and presumably the heat the mats were providing) on the edges of our trays.


 Here's a system to track all those details
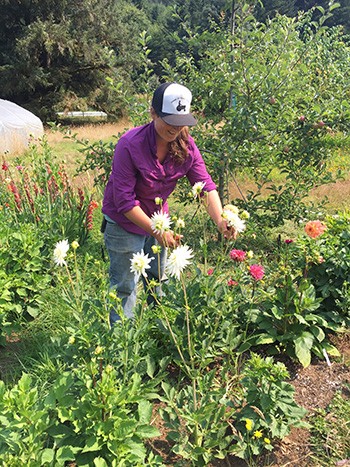


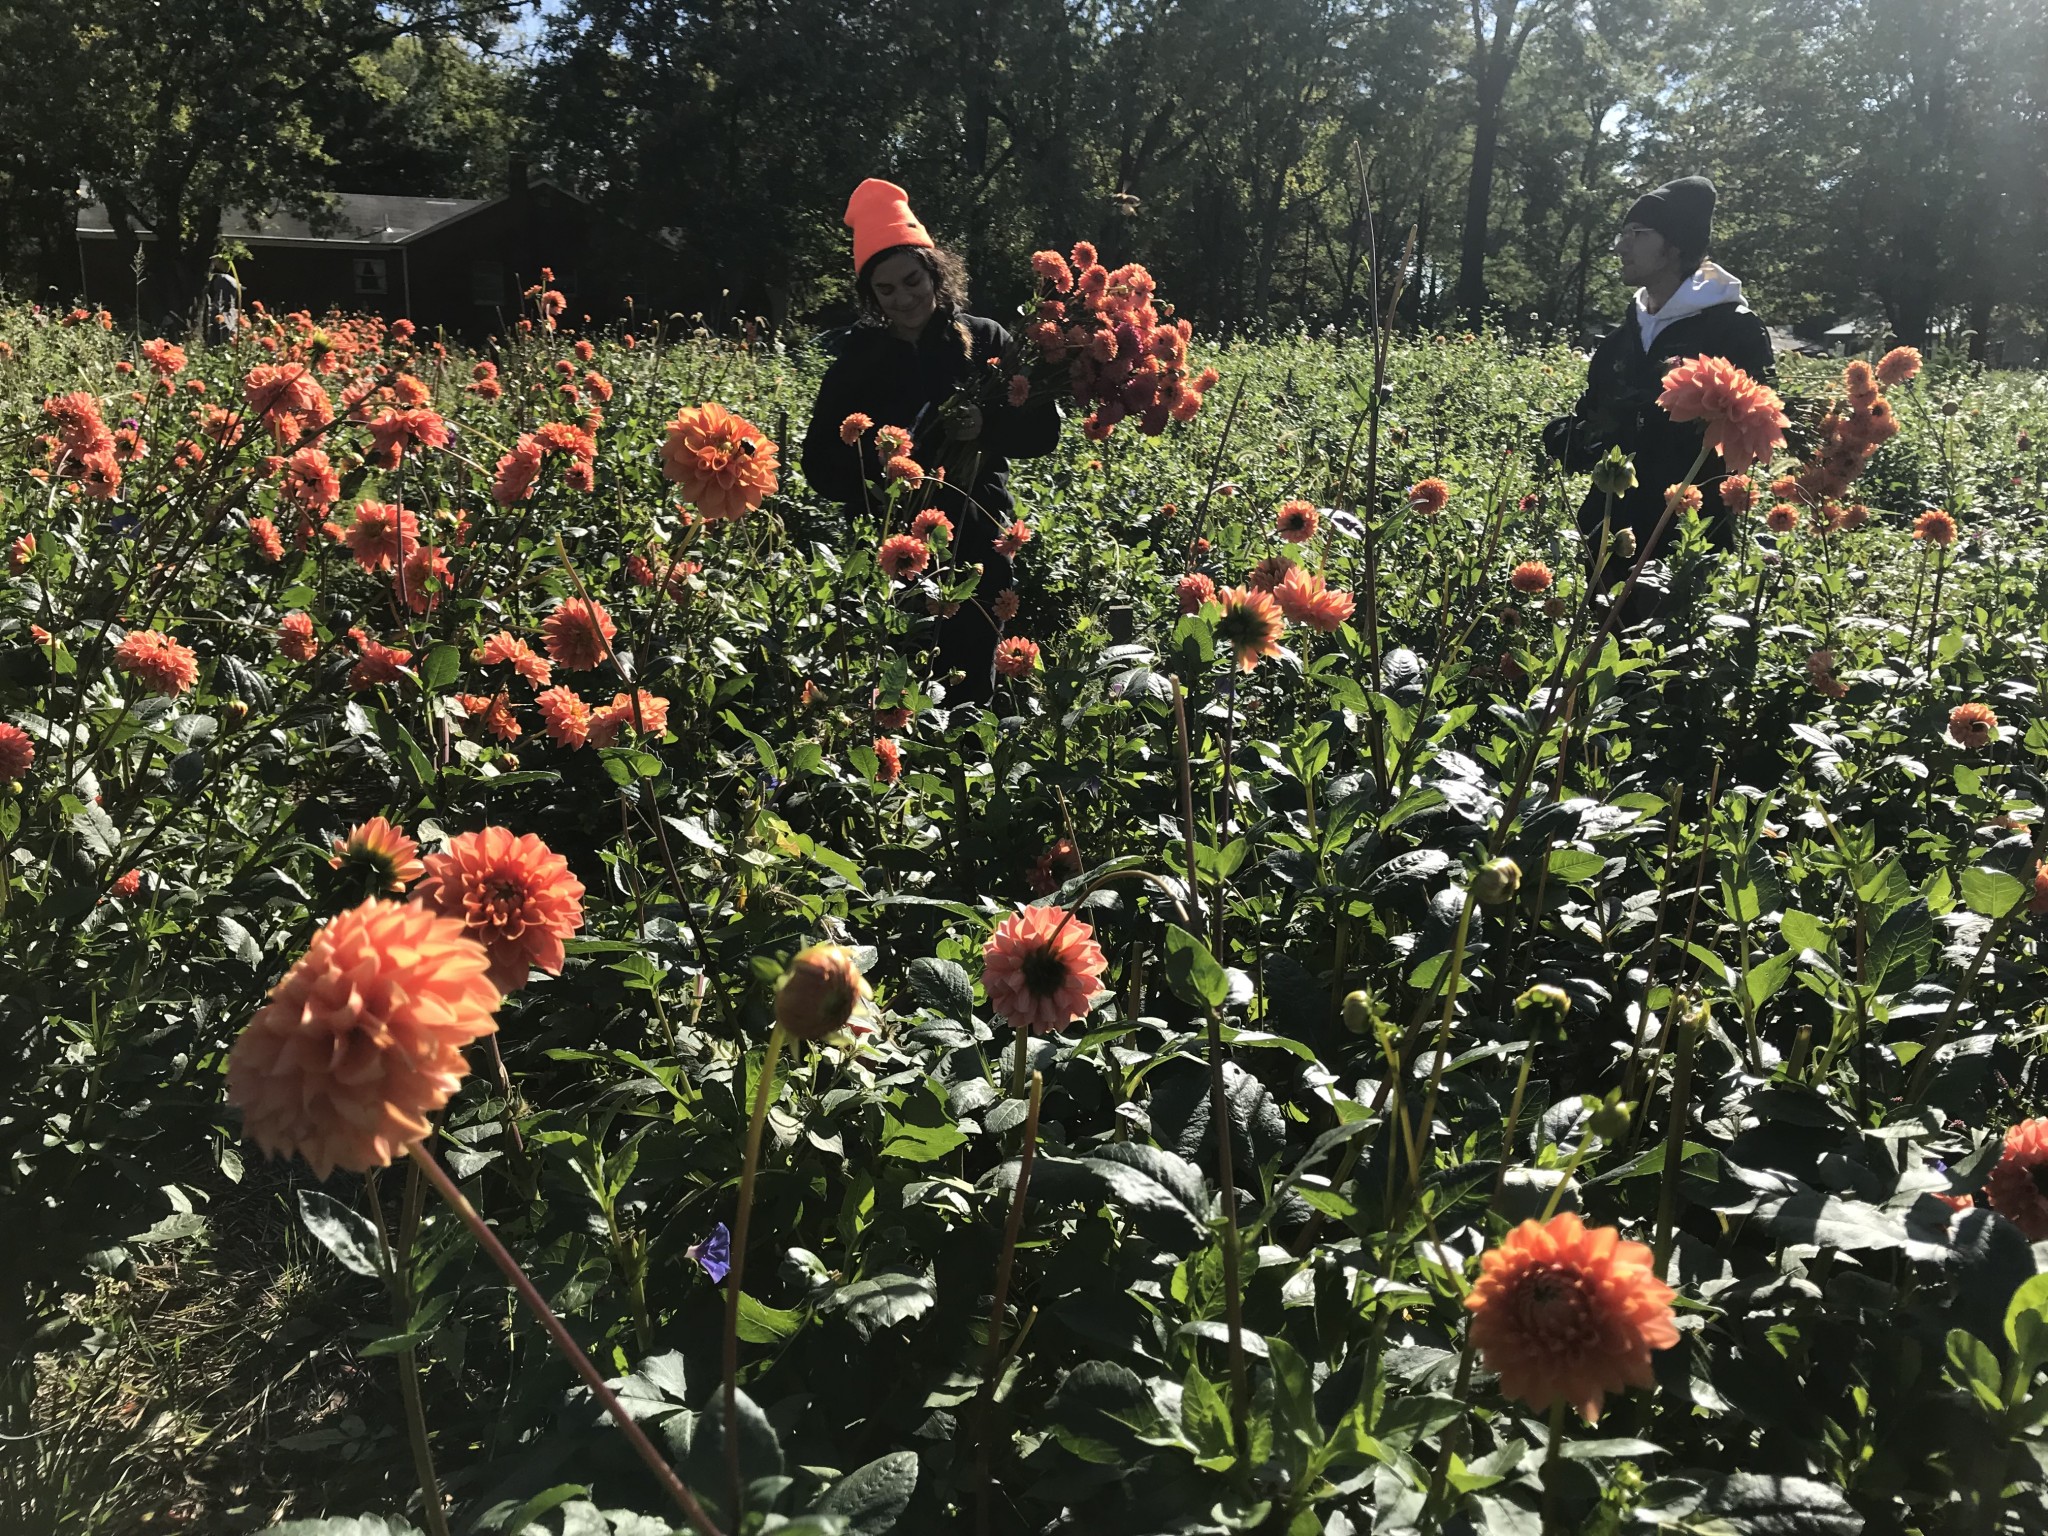 Dahlias were our number one crop this year, even beating out lisianthus and ranunculus by a landslide. We have tried many different methods of growing them, and these are the solutions we’ve come up with. I’m sure there are still better ways, and if you know of any, definitely send them our way! This year we planted 7,000 dahlias and plan to plant even more next year as we increase our growing space. Let’s just start at the beginning with planting and work our way through the whole process.


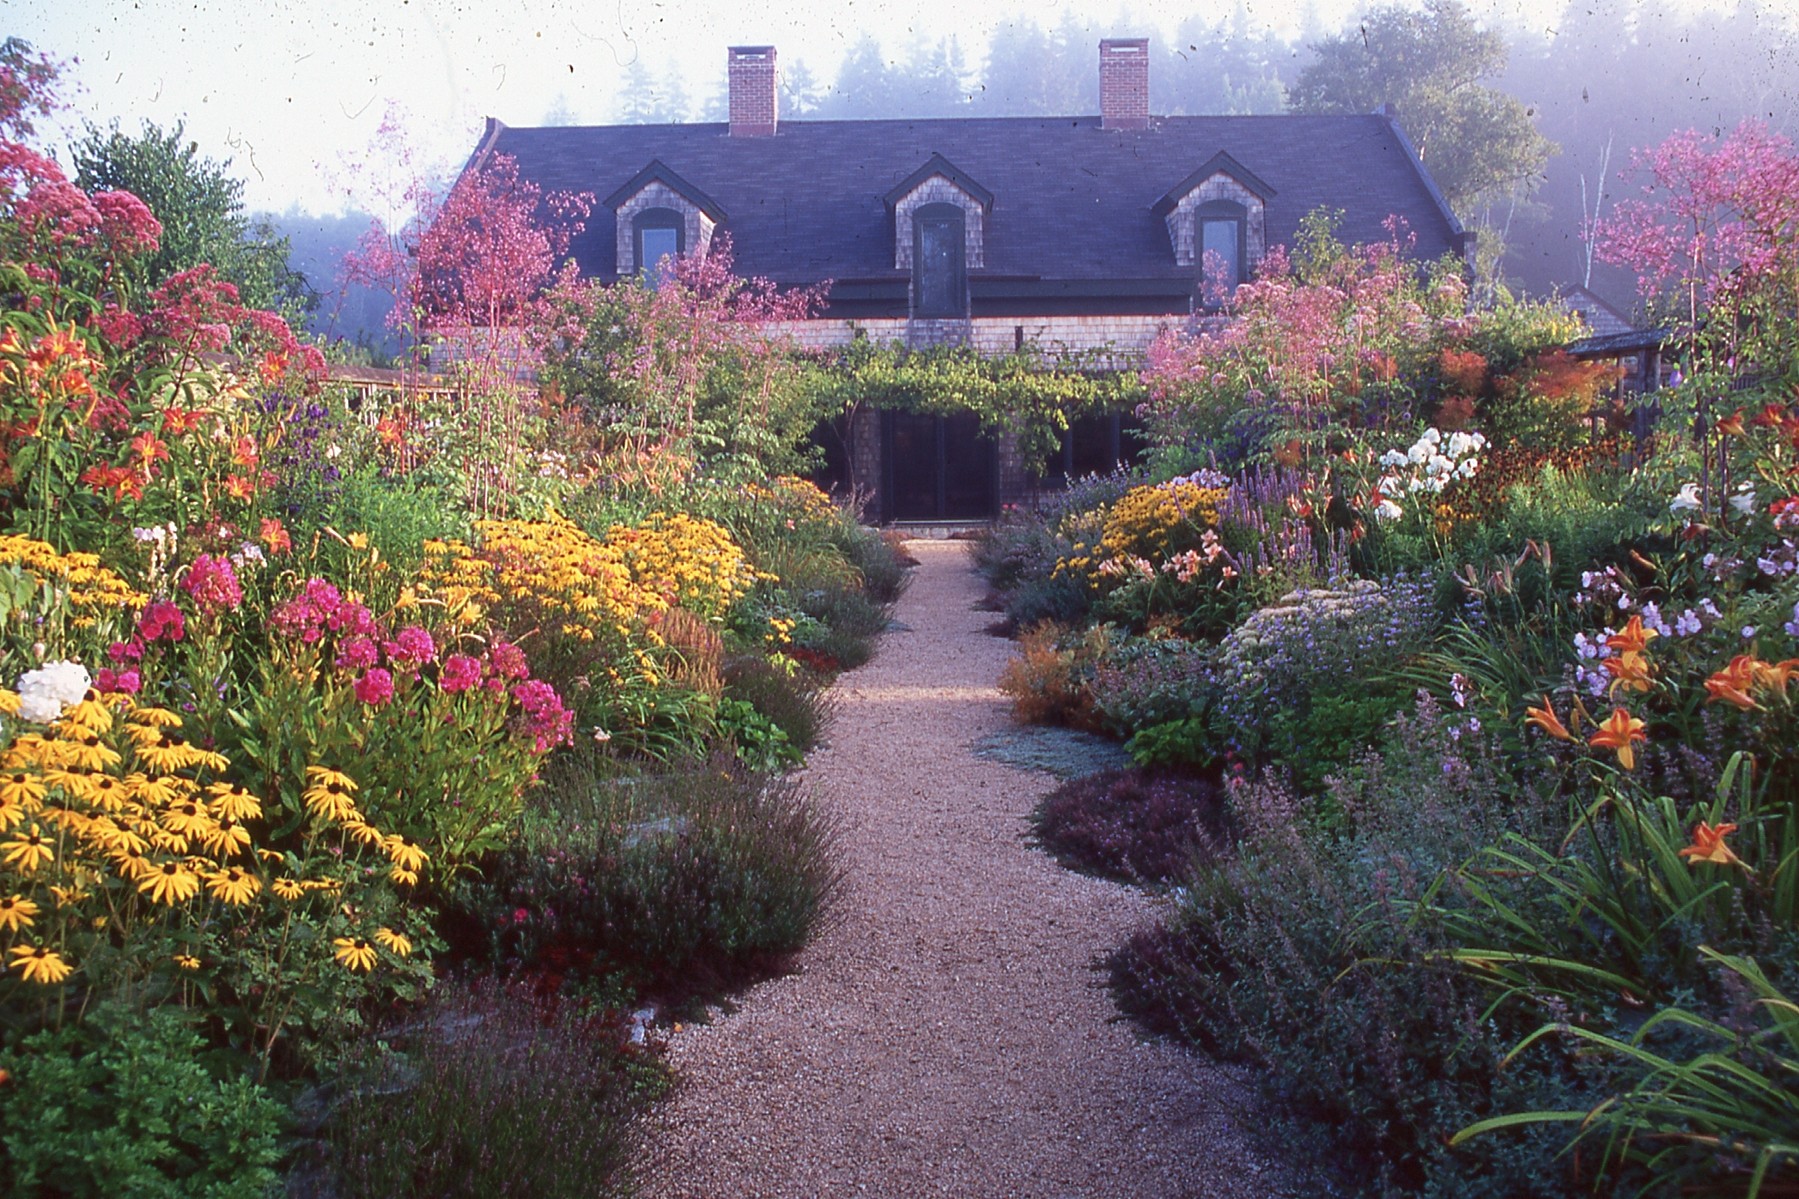 Since its founding in 1968 by my husband Eliot Coleman, Four Season Farm has sought to produce the best vegetables possible, using soil-based organic methods, on a small amount of land. When I showed up in 1991, Eliot had begun to pioneer winter vegetable production, and I was delighted to give up the landscape design business I’d run in Connecticut and grow veggies with him. Then, about 10 years ago, flowers started to creep in.


